
19 Beautiful DIY Creek Bed Ideas for Drainage That Protect Your Yard
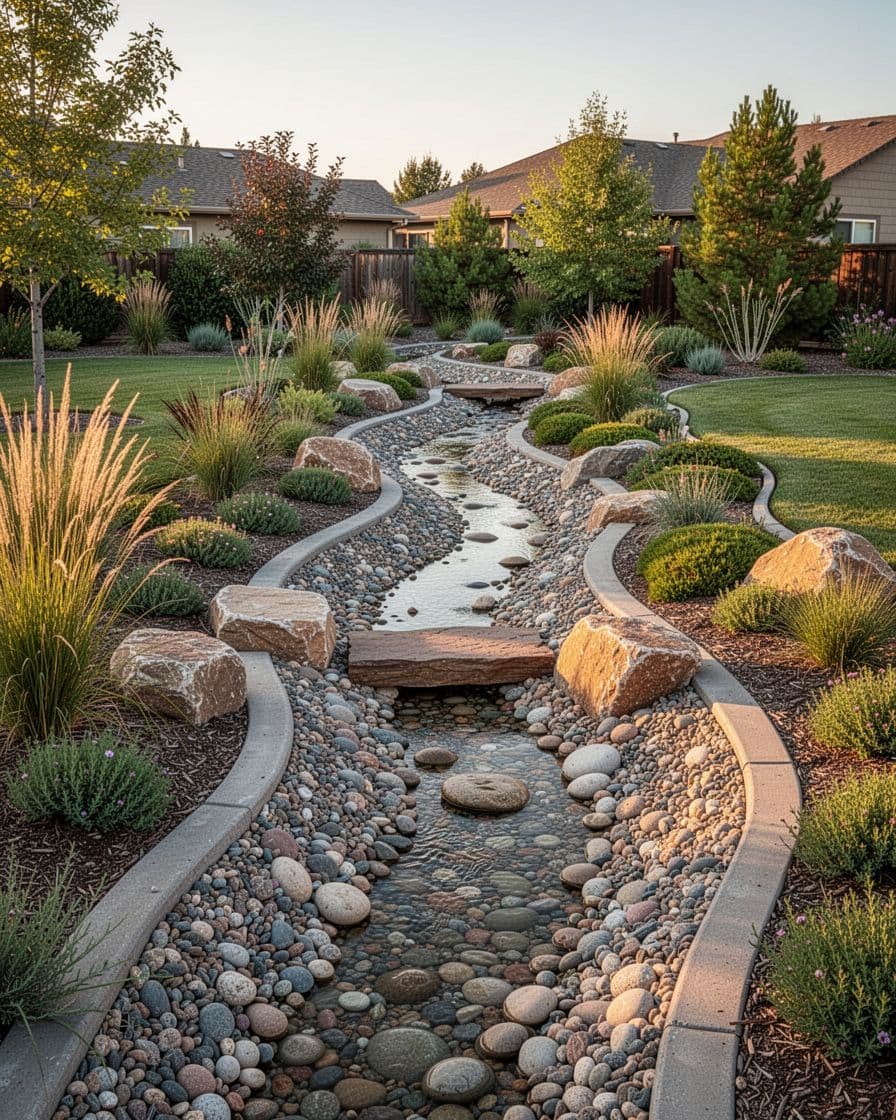
A DIY creek bed for drainage needs a working route for water before it needs attractive stone. The useful part is the shaped channel underneath: where runoff enters, how it travels through the yard, and where it can leave or soak in without creating another wet spot.
That distinction matters when a side yard turns muddy or a downspout washes soil into the lawn. A decorative ribbon of river rock may hide the problem, but it will not correct an uphill outlet, unsuitable soil, or a channel that is too small for the water reaching it.
Use the planning steps below to decide whether a dry creek bed suits your site. Then compare 19 design ideas, and use the material estimate and maintenance checks to turn a visual concept into a better-informed project.
The short answer: A functional dry creek bed is a rock-lined surface channel. It can carry runoff and may allow some infiltration where the soil is suitable. Rock alone does not create drainage; the route, channel capacity, soil conditions, and outlet determine whether the system works.
First Decide: Move the Water or Let It Soak In?
A channel that carries water somewhere else and a basin that temporarily holds water have different jobs. Oregon State University Extension distinguishes swales that convey runoff from rain gardens that hold it for treatment and infiltration. A dry creek bed can connect those features, but one does not automatically replace the other.
| What you observe | An approach worth investigating | What a rock channel alone cannot establish |
|---|---|---|
| Runoff crosses the surface after rain | A shaped surface swale or dry creek bed with a suitable outlet | Whether the proposed channel can handle the contributing runoff. |
| A downspout scours one patch of soil | Correct the discharge route and protect the point where water enters the landscape | Whether the gutter or downspout itself is functioning properly. |
| Water remains in a low area | Assess soil, grade, groundwater, and potential drainage options | That adding gravel will make the underlying soil absorb water. |
| A suitable planting area can receive runoff | Investigate a properly located and sized rain garden | The required storage volume, infiltration rate, or overflow route. |
| Water enters a garage or basement | Have the building drainage problem assessed before decorative work | The cause of the intrusion or the work needed to protect the structure. |
If a trench with a perforated pipe is needed to address subsurface water, that is a different drainage design. Do not turn a surface creek bed into a buried drain by adding pipe without a plan for its grade, filter materials, maintenance access, and discharge.
Plan the Water’s Route Before Ordering Stone
1. Map the source, route, and destination
From a safe position during or just after rainfall, note where water begins, where it crosses the yard, and where it collects. Photograph sediment lines, bare patches, and overflowing gutters. Do not assume the wettest patch is the source; it may simply be the lowest destination.
Make a simple sketch showing buildings, downspouts, paving, boundaries, trees, and existing drains. Draw the proposed inlet, channel, and outlet as separate parts. You should be able to explain what happens at each one before choosing a decorative shape.
2. Check the outlet and the overflow route
Confirm where the water can go before digging the channel. An outlet must avoid creating erosion, sending runoff back toward a building, or shifting the problem to adjoining property. Ask the local stormwater authority about discharge permissions, easements, and connections to existing infrastructure; do not assume a street drain is available for private use.
Also identify where water would travel if the main channel became blocked or exceeded its capacity. A design that works only while every leaf is removed has no margin for the conditions that occur during a storm.
3. Measure elevations rather than judging slope by eye
A hose or rope is useful for marking the outline, but it cannot confirm drainage. Check elevations along the proposed channel and at its outlet using appropriate leveling equipment. Look for small high points that would trap water behind them.
Keep two slopes separate in your plan: the fall along the creek bed and the grading around the house. PNNL’s foundation grading guidance describes permeable ground falling away from a home by at least one-half inch per foot for the first 10 feet in the guidance it discusses. That is foundation grading guidance, not a universal creek-bed slope specification. Site conditions and applicable requirements determine the actual design.
4. Test soil where infiltration is proposed
A rock-filled depression cannot be assumed to absorb runoff just because the surface looks porous. The soil below it may be compacted, seasonally saturated, or slow to drain. OSU Extension explains that infiltration testing helps determine suitability, location, and sizing; conditions can differ across a site and at different depths.
Use a locally accepted testing method at the proposed facility location and depth, after utility clearance. An informal observation that a puddle disappeared is not a complete design test. If infiltration is unsuitable, the project needs another approved way to handle water rather than a deeper gravel hole.
5. Clear utilities and identify the limits of DIY work
In the United States, contact 811 before digging, wait the required period, and confirm the utility responses. Follow your local instructions around marked lines. Outside the U.S., use the relevant utility-location service. Confirm separately how privately installed services, such as irrigation or outbuilding supplies, will be located.
Get site-specific drainage help for recurring building flooding, steep or unstable ground, retaining walls, significant runoff, or work near structural footings. Those conditions require more than choosing stones from a photograph.
19 Creek Bed Ideas, Grouped by What They Help You Plan
Treat these images as landscape design references. They do not show surveyed elevations, hidden construction details, or verified storm performance. Choose the layout after the drainage route has been assessed, and adjust the appearance to fit that route.
Routes Through Lawns, Side Yards, and Garden Edges
1. Winding Rock-Lined Creek Bed
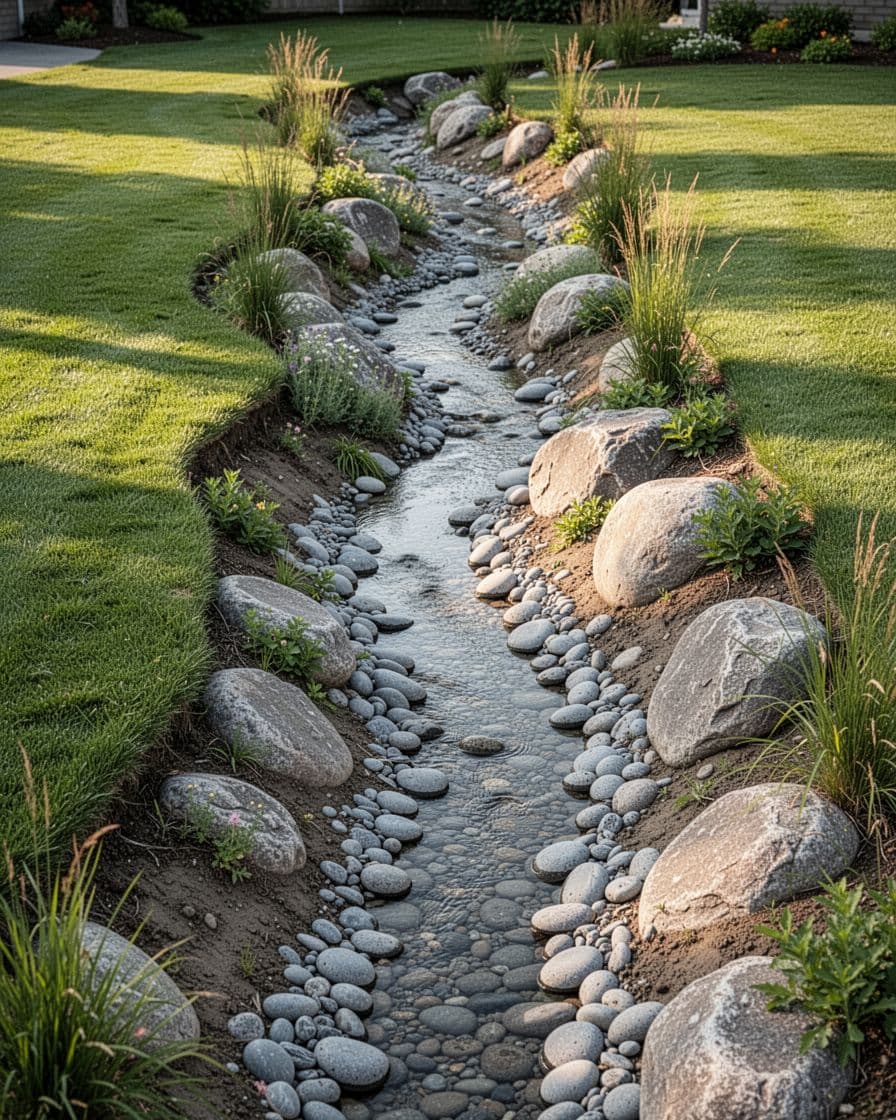
A gently curving outline can make a channel feel connected to surrounding planting instead of looking like a trench drawn across the lawn. Repeat the curve in the planted edge rather than adding a separate border that competes with it.
Keep the route easy to follow from the inlet to the outlet. A bend should not leave a local hollow or force water toward a building. Curves are a landscape choice, not proof that the channel will control erosion.
Design detail: Group a few larger accent stones at the outside edge, where they do not obstruct the required flow area. Let the lining and channel dimensions follow the assessed runoff conditions.
2. Downspout Runoff Channel
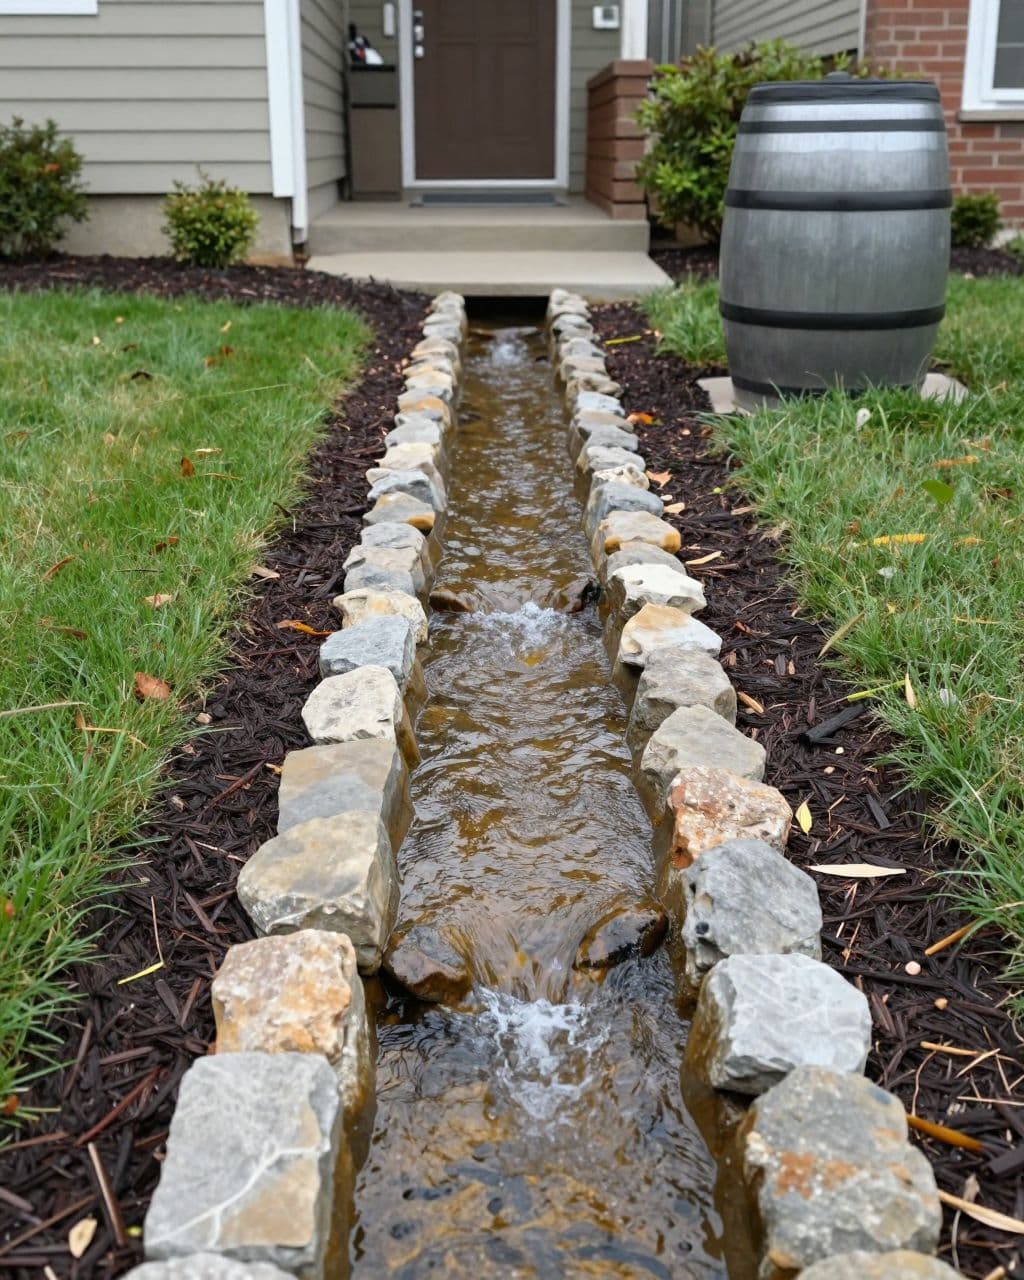
Begin with the roof drainage system, not the rockwork. Check whether the gutter is blocked, whether water escapes at a joint, and whether the discharge points in the intended direction. A dry creek bed should receive a controlled outlet rather than hide a leak.
Keep the downspout connection visible or accessible for inspection. Plan protection at the entry point, where concentrated flow can disturb the lining, and make sure a decorative rock does not force water back toward the wall.
Best fit: A defined roof-water route that can reach an approved receiving area. Where a pipe extension is involved, use a drainage layout that remains inspectable rather than burying an unknown connection beneath stone.
3. Sloped Side-Yard Creek Bed
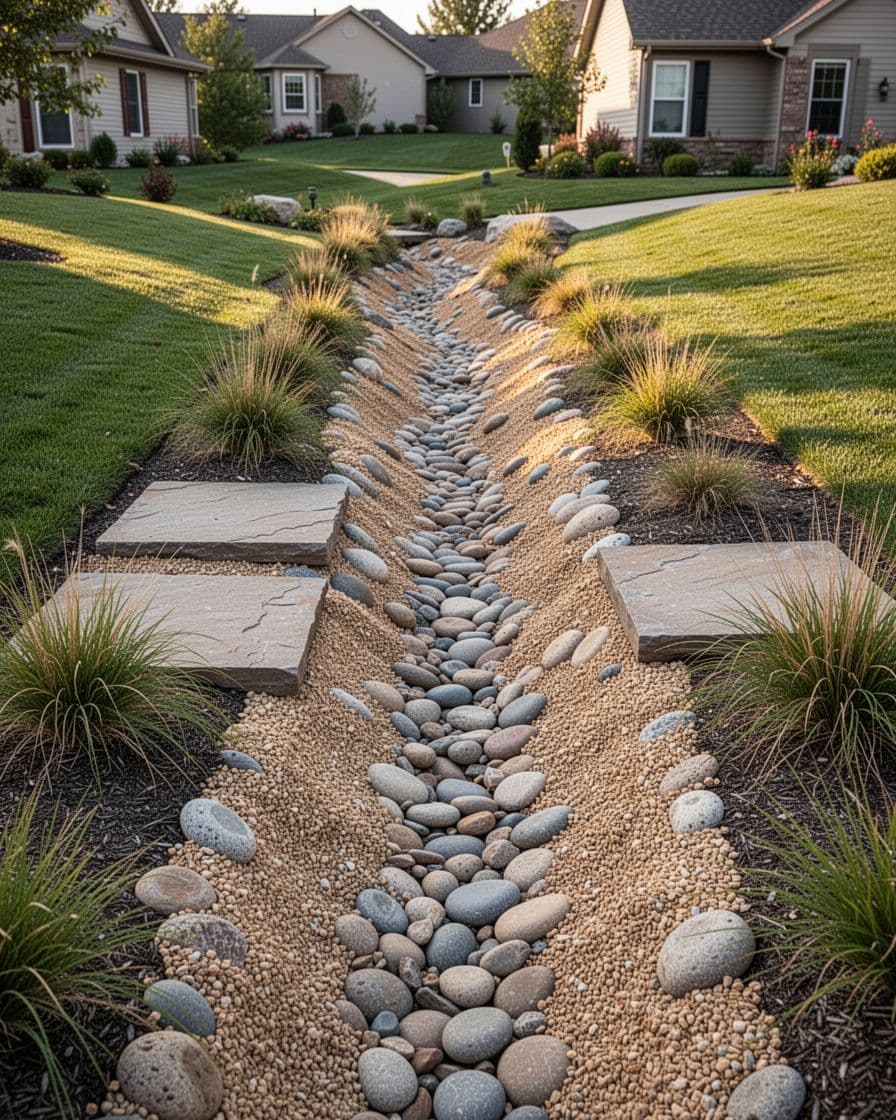
A side-yard channel can use a narrow strip of landscape, but the apparent convenience of the route should not override the slope assessment. Water can gain speed on a steep descent, and loose decorative stone may not remain in place.
Leave a separate access route for bins, garden tools, and maintenance. Check that the proposed excavation does not undermine fencing, wall bases, or existing paths.
Design boundary: If the site needs grade-control structures or erosion protection beyond a simple lining, have those details designed. Adding a few large rocks to a steep trench is not a substitute.
4. Rock-Lined Receiving Area
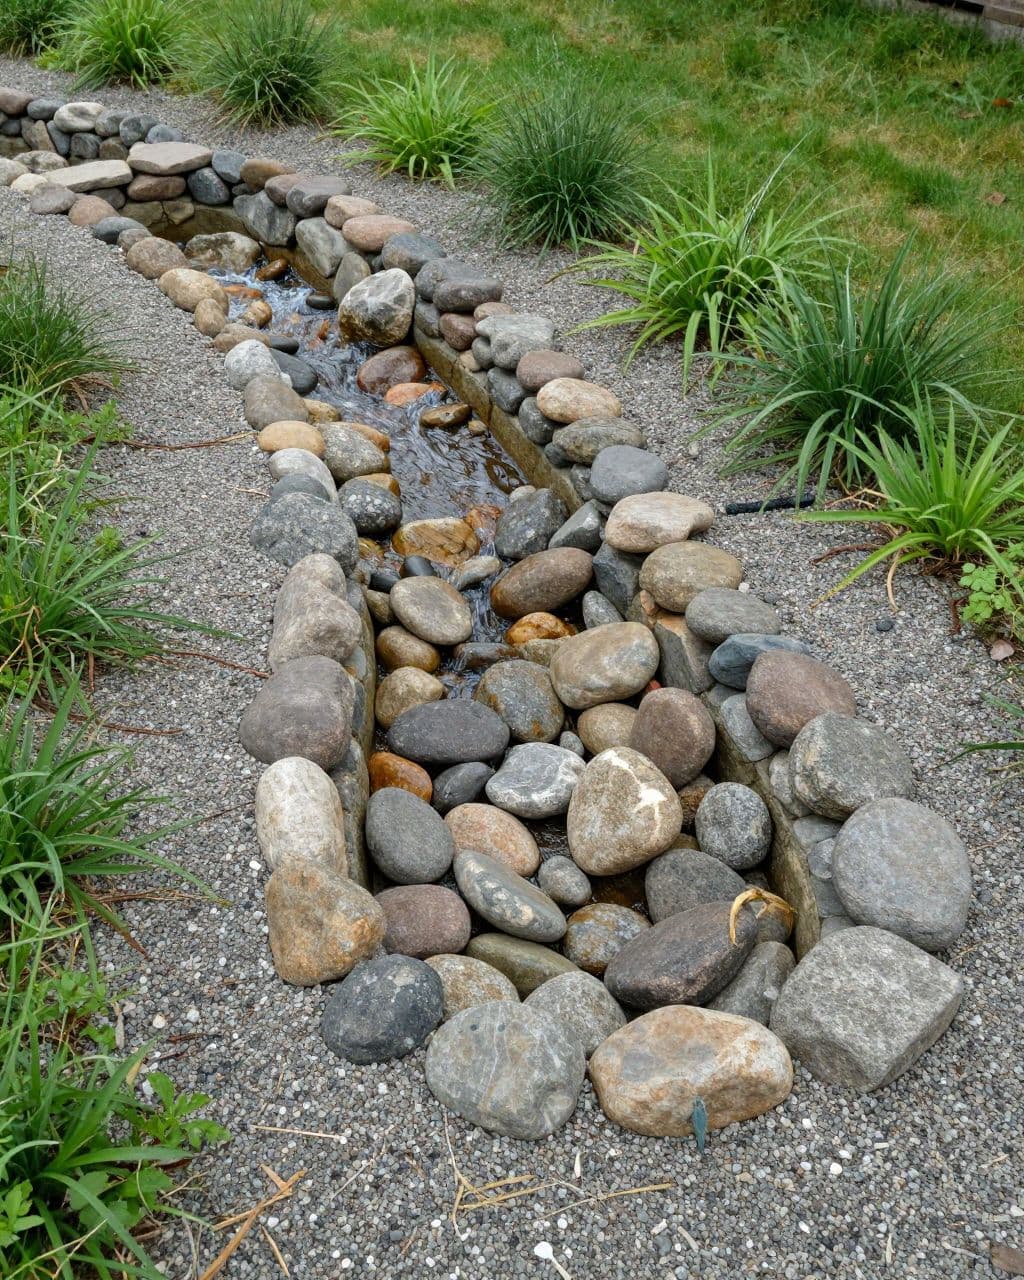
A wider terminal area can look like a natural creek pool, but it needs a defined drainage function. It may be an erosion-protected outlet or part of a designed infiltration feature; a bowl filled with stones is not automatically either one.
The term “catch basin” normally describes a drainage structure with an inlet, a sump, and a pipe connection. Use that term only when the project actually includes such a structure.
Before choosing this design: Establish how the receiving area empties and where overflow travels. If water cannot leave at a suitable rate, widening the decorative stone area may only enlarge the wet spot.
5. Creek Bed Garden Border
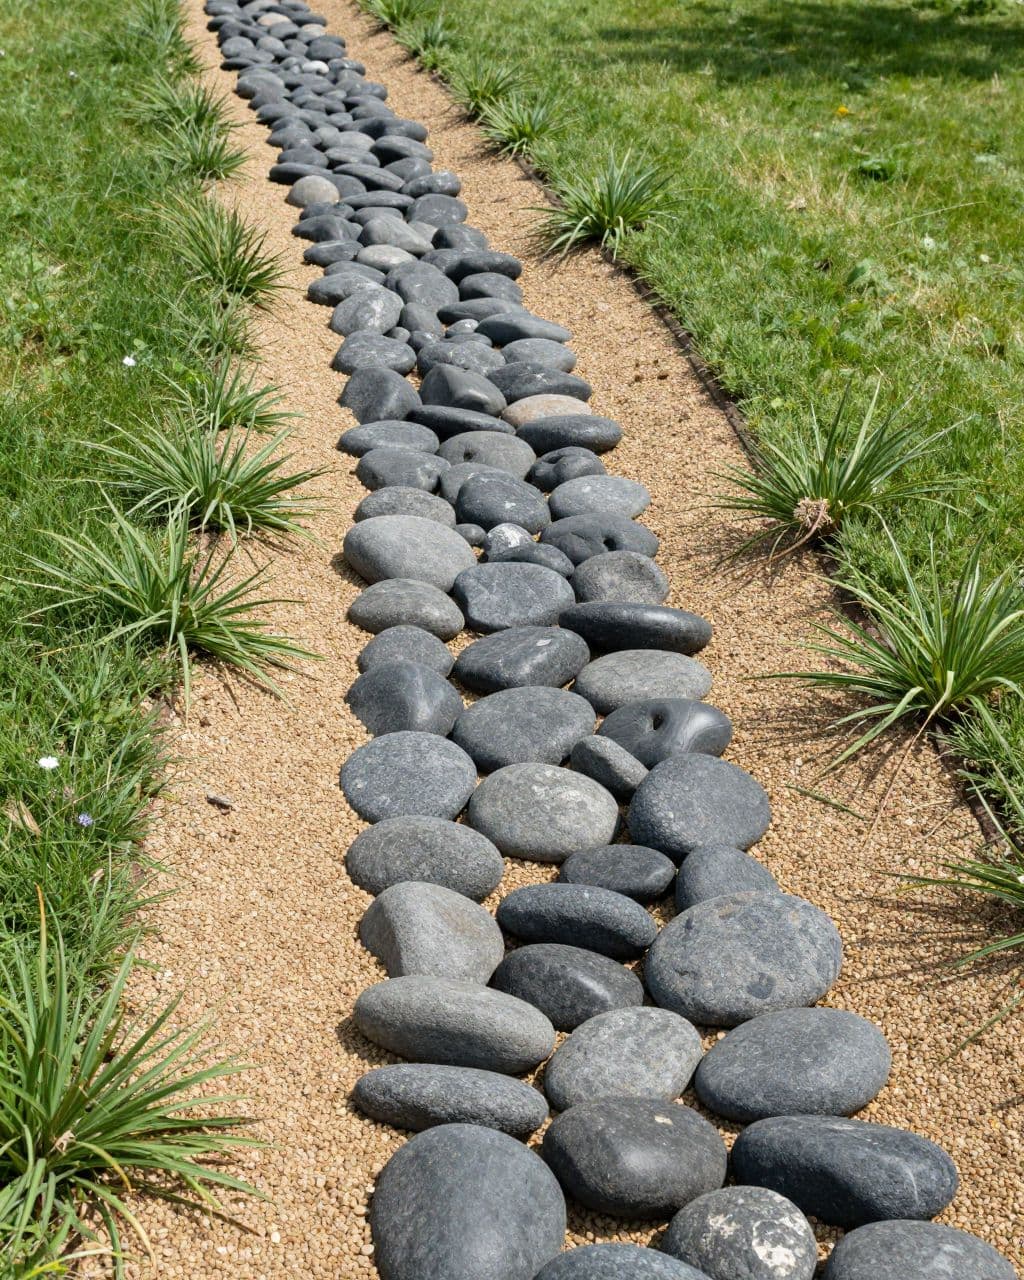
A channel between lawn and planting can act as a visual divider while using an existing runoff route. Keep the planting outline simple and use a consistent stone palette so the border does not become the busiest part of the garden.
Account for soil and mulch washing down from the adjacent bed. Keep loose mulch outside the active flow path and leave enough access to remove sediment without stepping through delicate plants.
Useful detail: Position plants for their mature width. A border that looks open at planting time can become difficult to inspect once foliage spreads over the channel.
6. Narrow Walkway Drainage Channel
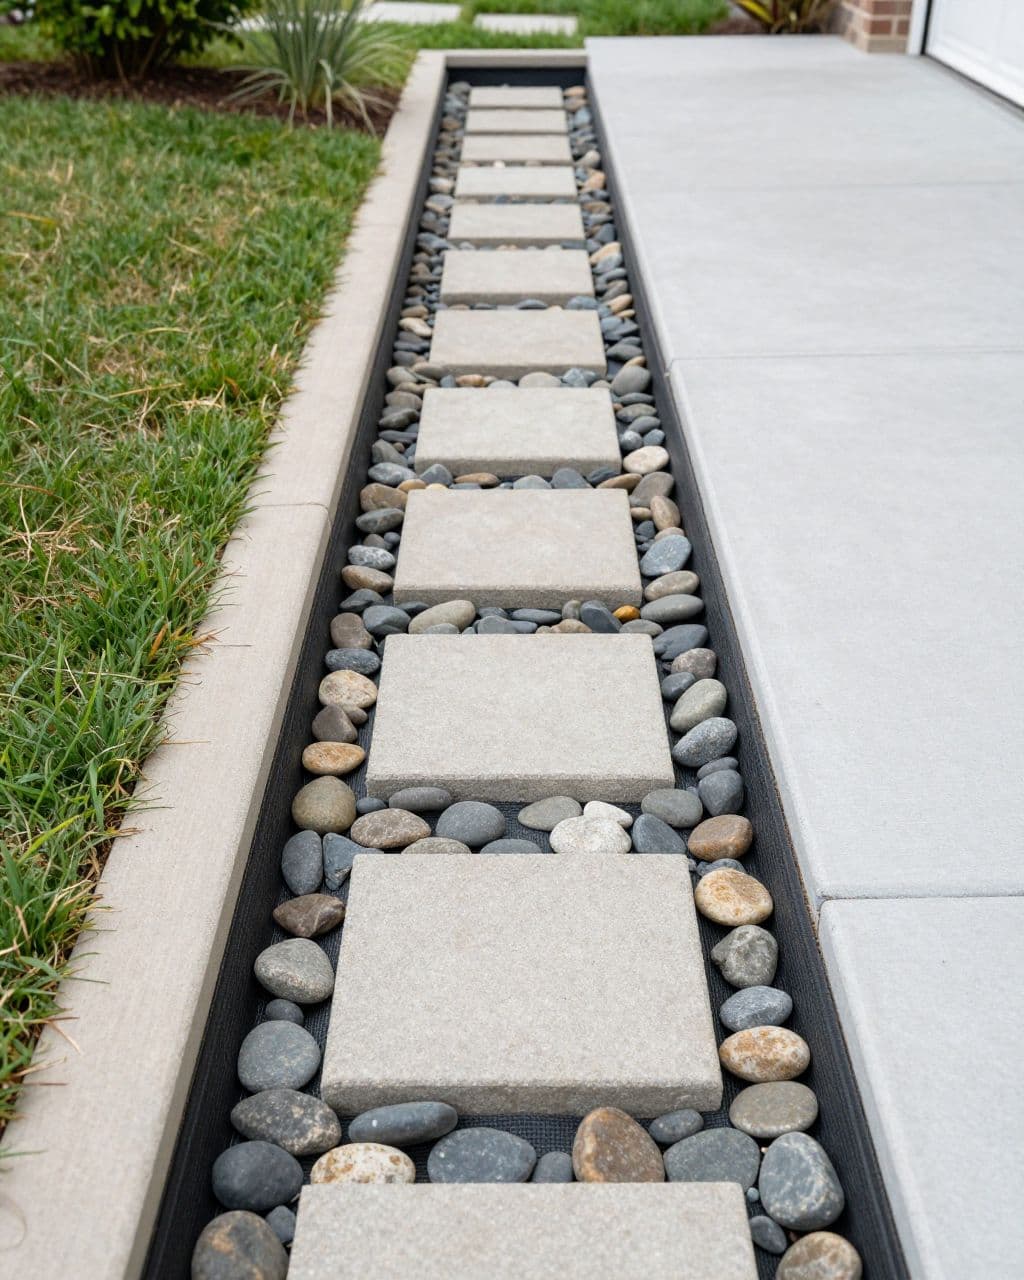
Keep the walking surface distinct from the drainage surface. A strip of loose stone should not be expected to function as an everyday path, particularly where wet shoes, mobility aids, or wheeled bins are involved.
Check how the path itself sheds water. A raised edge can prevent runoff entering the channel, while an incorrectly lowered edge can make the path the new low point.
Plan the crossing: Where people need to cross, use a crossing designed for both access and the drainage route. Avoid placing loose stepping stones across the channel simply to bridge a gap in the plan.
Creek Beds That Connect With the Landscape
7. Woodland Creek Bed
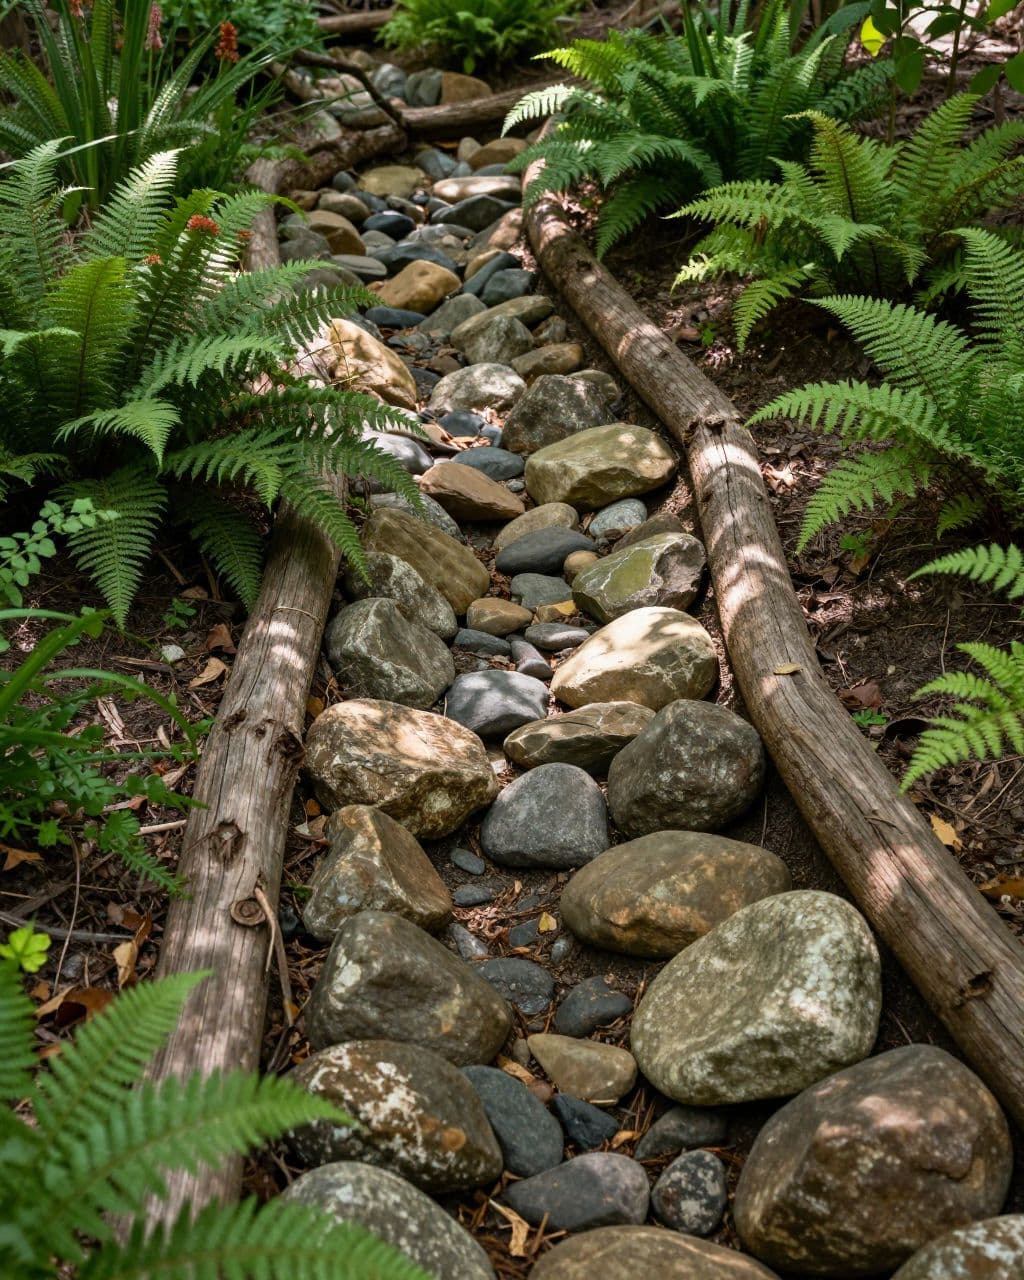
Use an irregular edge and a restrained mix of stone to relate the channel to a shaded garden. Planting beside the bed can soften the appearance without filling the center with branches, logs, or ornaments.
Protect existing tree roots when assessing the route. Do not assume it is acceptable to excavate beneath a tree canopy or raise soil against trunks just because the design has a natural appearance.
Maintenance tradeoff: A wooded position receives leaf litter. Make the channel reachable with hand tools and keep it visible enough to notice a blockage before the next storm.
8. Modern Linear Creek Bed
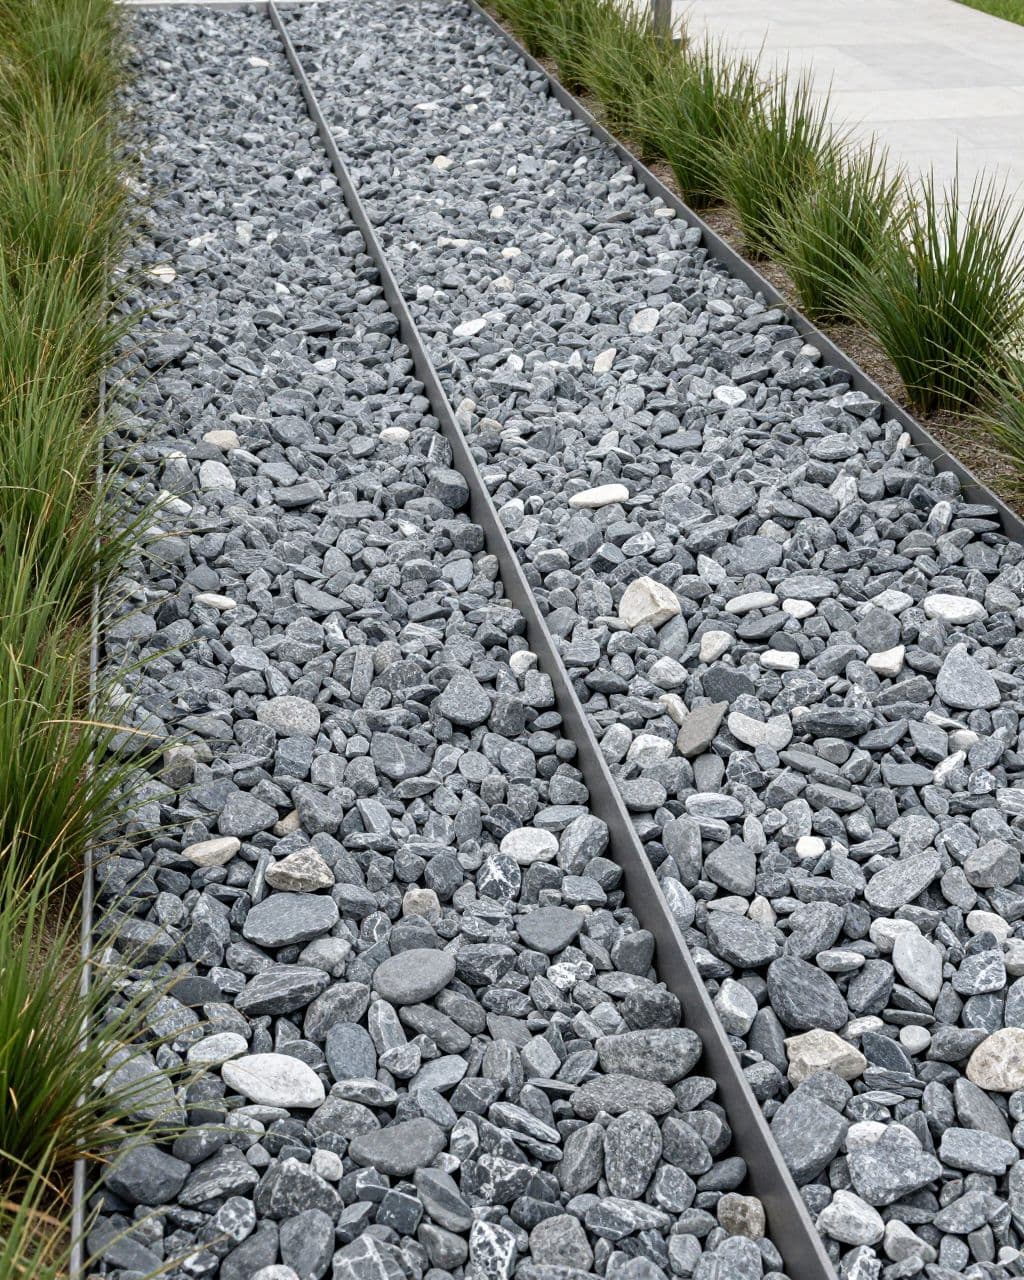
A nearly straight channel can fit a contemporary yard with rectangular paving and simple planting. Use one main stone color and keep decorative edging outside the space needed to move water.
The finished outline can be crisp without making the channel a narrow slot. A visually clean design still needs the width, depth, side profile, and outlet determined for the site.
Check the detail: Metal or masonry edging should not form a dam at the inlet or outlet. Review transitions to paving carefully so the decorative boundary does not interrupt the water’s route.
9. Creek Bed Into a Rain Garden
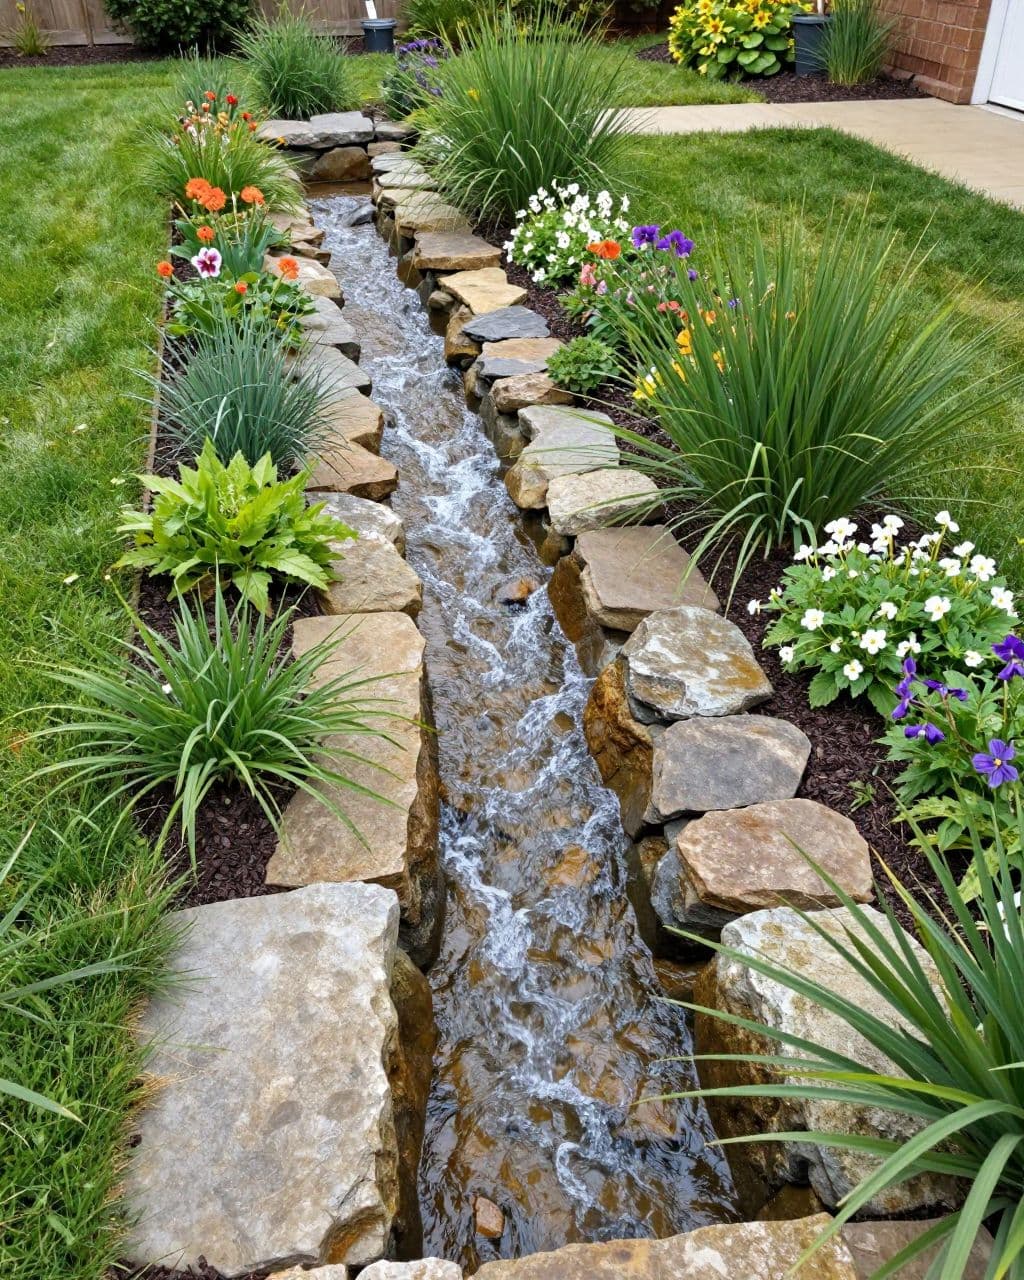
A dry creek bed can connect roof or paving runoff to a planted rain garden where the site is suitable. The channel delivers water; the receiving garden needs its own location, soil assessment, capacity, and overflow plan.
The EPA’s rain garden overview explains the role of a planted depression in collecting runoff and allowing infiltration. Do not interpret a flower bed in a low spot as a ready-made rain garden.
Siting check: Virginia Cooperative Extension recommends locating rain gardens at least 10 feet from building foundations and avoiding unsuitable sites such as steep slopes, septic fields, and high groundwater. Local requirements and site conditions may call for different or greater separation.
10. Driveway Runoff Channel
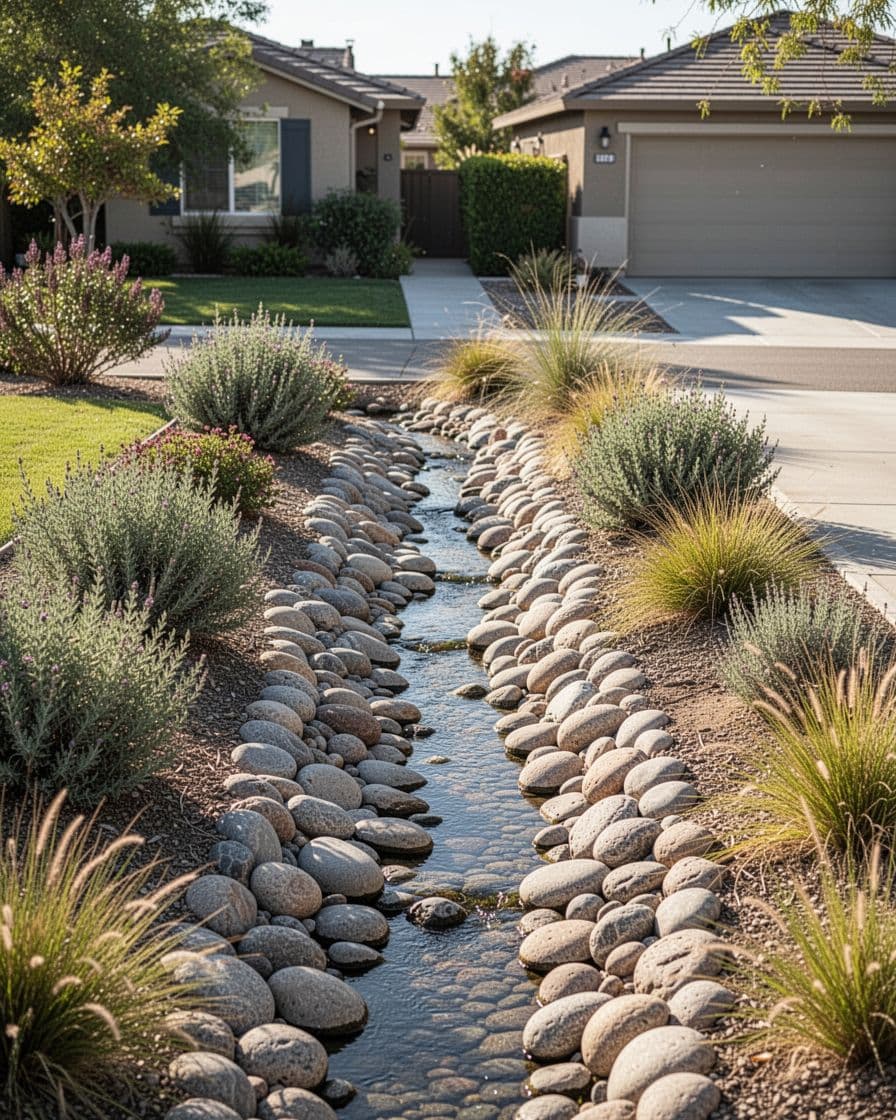
A channel alongside a driveway can look like part of the landscape edge, but it must receive water at the correct elevation. A decorative stone strip standing higher than the paving will not intercept flow crossing the surface.
Keep the route clear of turning tires and choose a separate solution where vehicles must cross. The surrounding paving also needs to remain supported; do not excavate its edge without understanding the construction.
Before redirecting runoff: Confirm the intended discharge with the local stormwater authority. Do not casually connect a private channel to a road drain or direct concentrated driveway runoff toward neighboring land.
Crossings, Stone Features, and Changes in Level
11. Creek Bed With a Footbridge
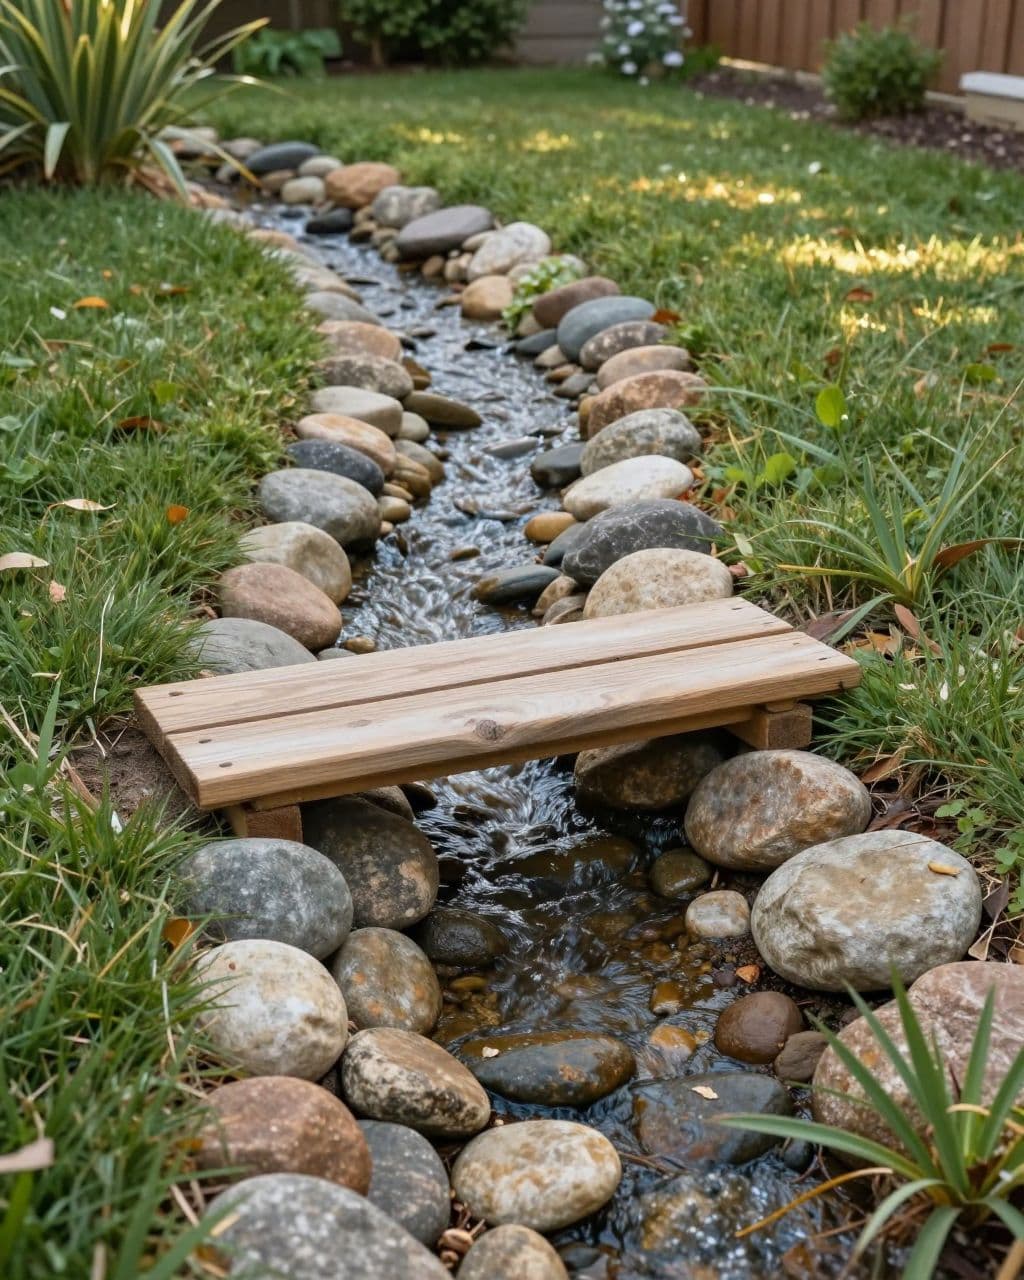
A bridge can preserve the visual continuity of a creek bed while giving people a defined crossing. Treat it as a separate structure, with an appropriate span, supports, loading, and walking surface.
Place the crossing where it will not reduce the channel’s intended capacity or trap debris. A pair of loose planks laid across stones does not establish a reliable garden bridge.
Design decision: If the bridge complicates maintenance or needs to sit in a location exposed to strong flow, move the path or have the crossing designed rather than forcing the decorative feature into the plan.
12. Boulder Accents Along the Channel
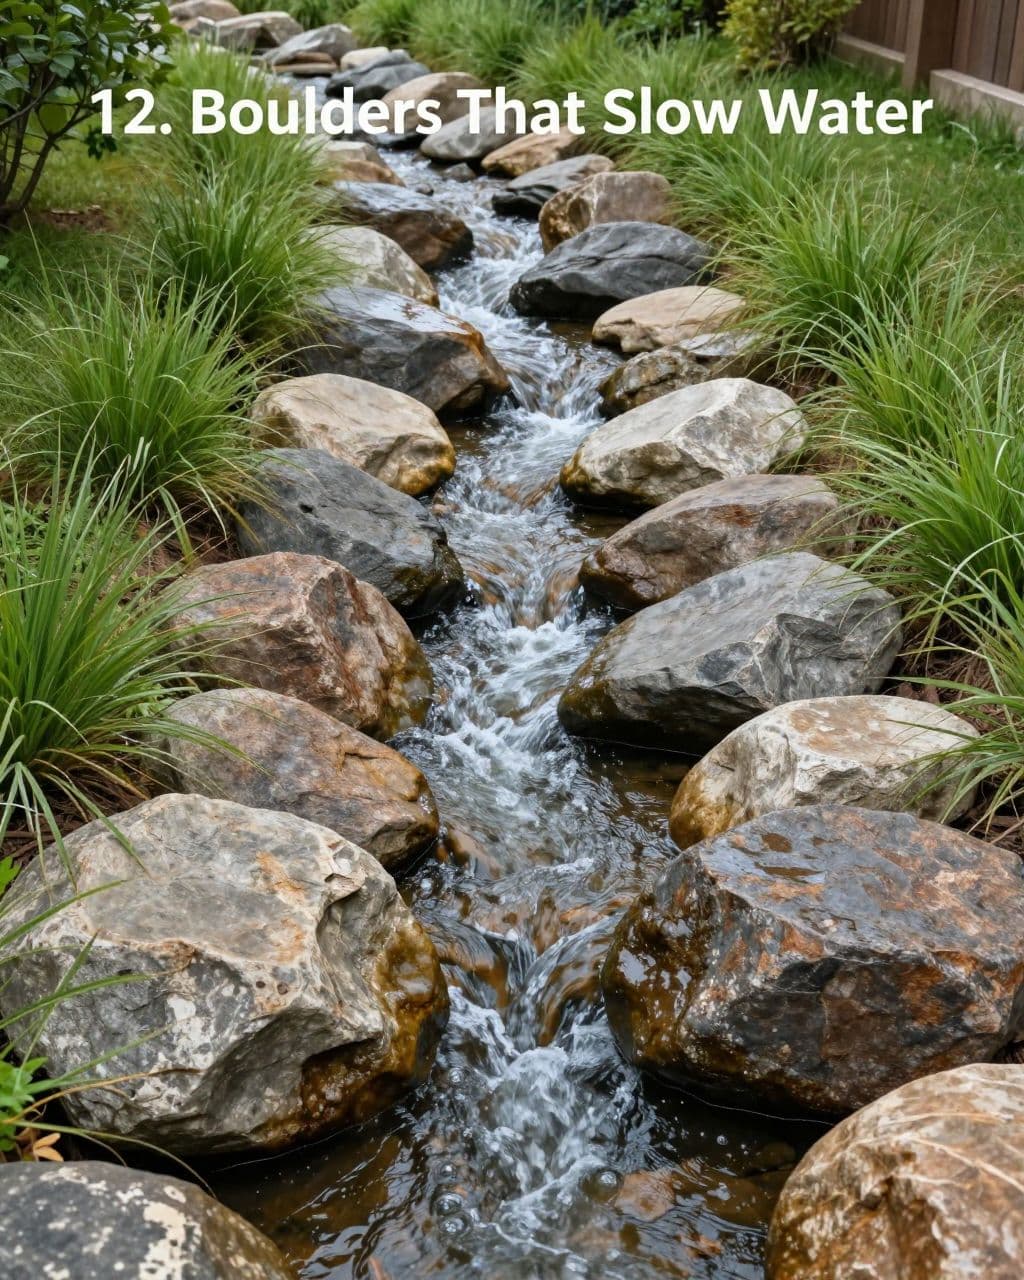
Use a small number of larger stones to anchor the planting edge visually. Their size can relate the creek bed to nearby shrubs and keep the display from looking like a uniform ribbon of gravel.
Keep decorative accents separate from engineered erosion-control features. Boulders placed in flowing water can redirect it toward a bank or create local scour, even when they look secure in dry weather.
Handling and placement: Have large stones delivered and positioned with suitable equipment and experienced help. Neither the photograph nor a universal “bury one-third” rule determines the embedment required for a particular stone and flow condition.
13. Budget Creek Bed With Locally Available Stone
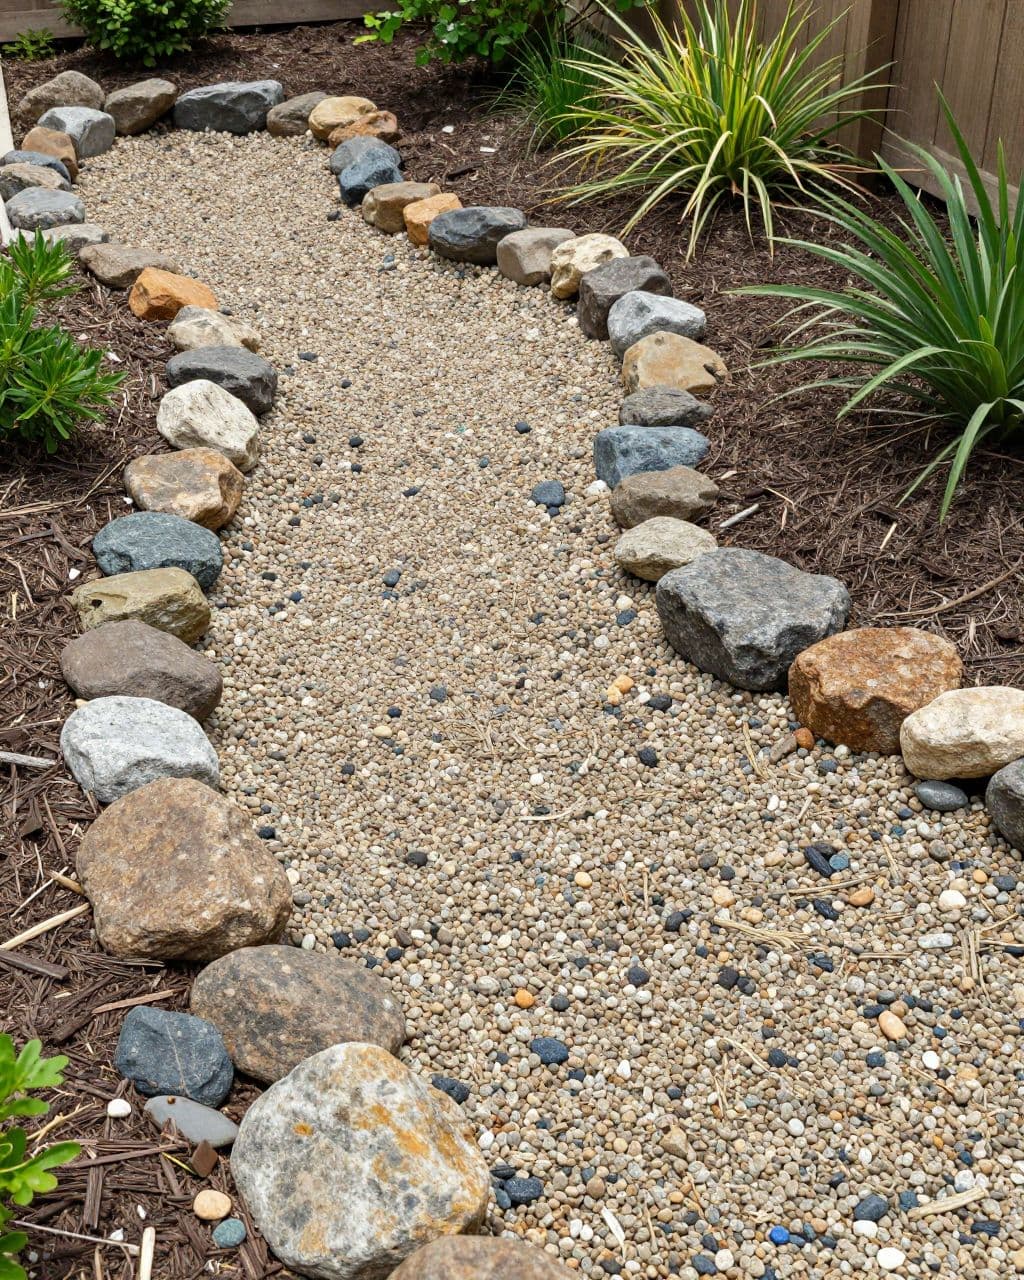
Reduce cost through material availability and transport, not by undersizing the functional lining. Ask suppliers about locally stocked washed stone and separate the quote for the channel material from optional decorative boulders.
Pea gravel may look inexpensive, but small rounded material can move in runoff. It is not a universal substitute for the stone specified for a working channel.
Compare the complete order: Include delivery, access, unloading, excavation, and disposal. A cheaper unit price can become a more expensive project if the material cannot be placed where you need it.
14. Drainage Beneath a Gate
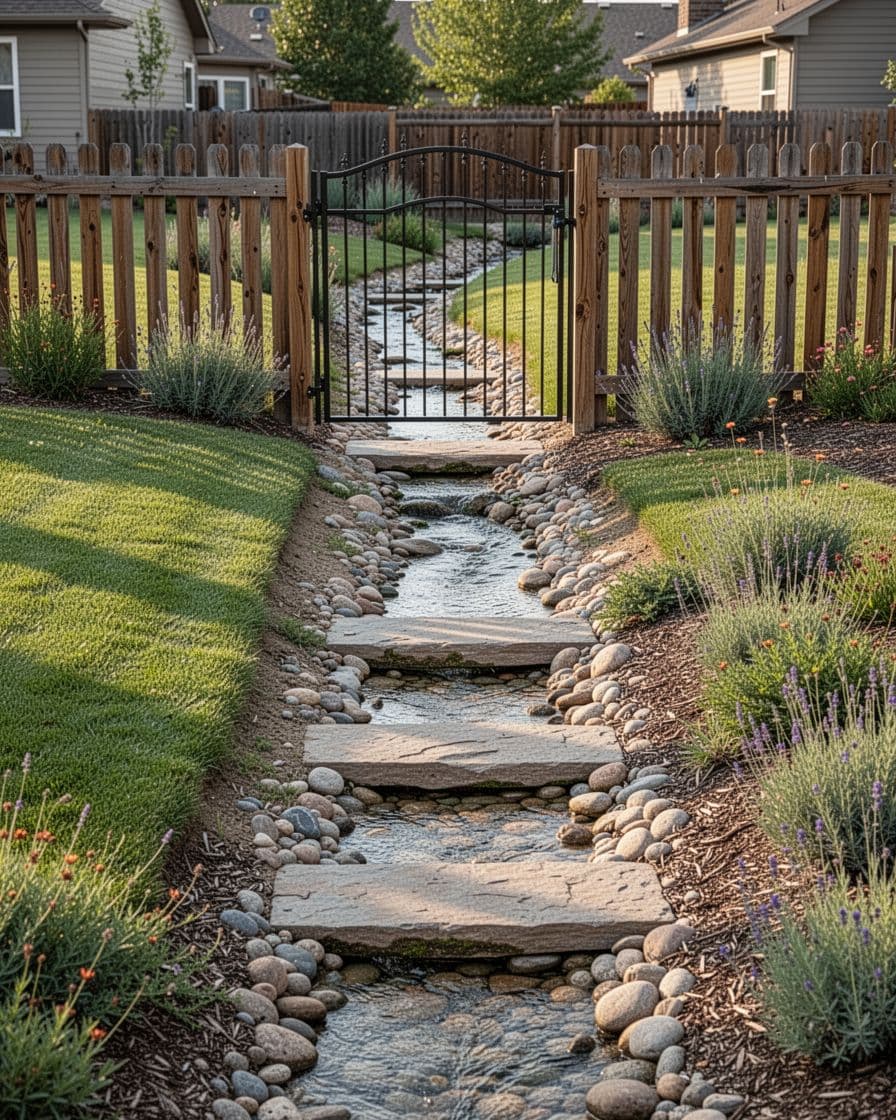
A gateway can be a pinch point for both water and access. Check the closed gate, its full swing, the threshold, and the fence footing before deciding how the channel should pass through.
Keep the flow route within the assessed drainage plan; a boundary gate does not provide permission to discharge onto the property beyond it. A crossing detail must allow the gate to work while preserving the required waterway.
Do not guess: Raising loose gravel to improve the walking surface can block the channel. Lowering it may create an awkward step. Resolve the crossing and clearance together before adding the finish stone.
15. Dark Stone Creek Bed Beside a Deck
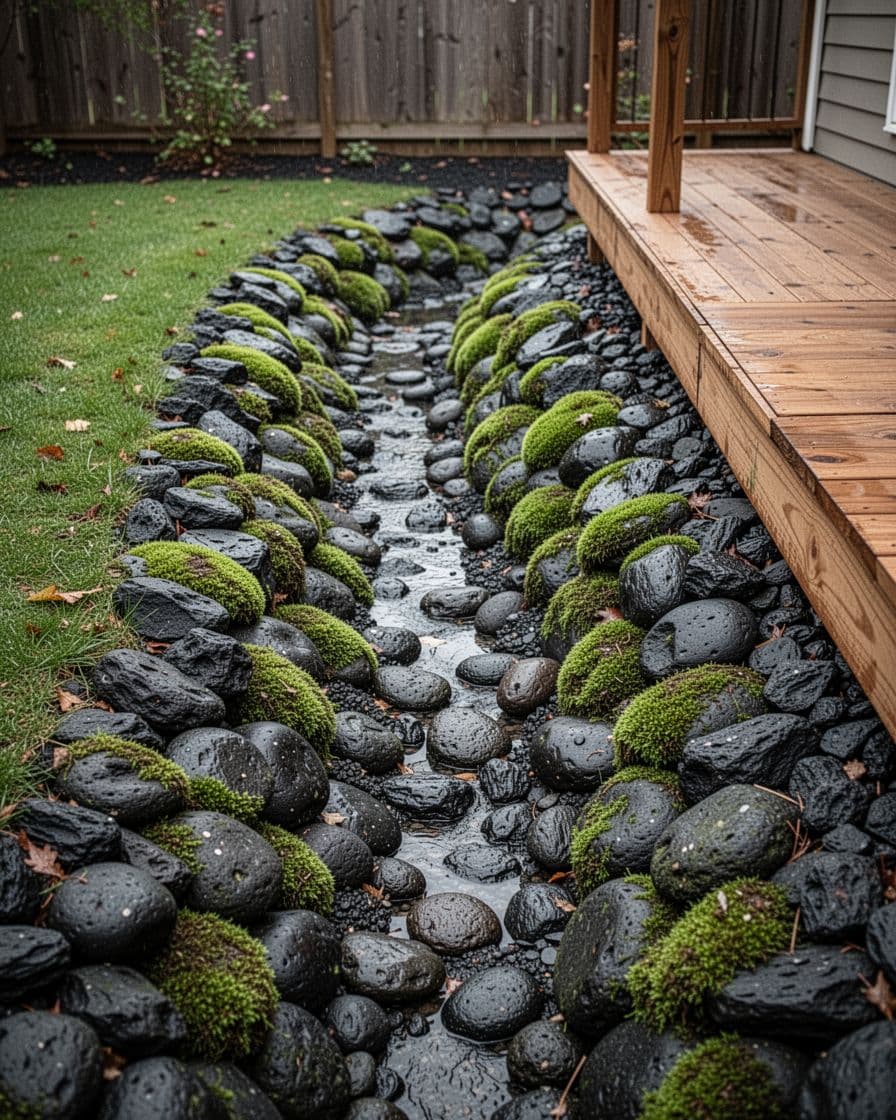
Dark stone can connect a creek-bed outline with weathered timber and green planting. Use the color as a finish choice after the route and structural clearances have been assessed.
Avoid excavating around deck footings or directing runoff into the ground supporting them. Keep inspection access to posts, wall junctions, and the edge of the deck.
Keep it maintainable: Leave a clear way to retrieve fallen leaves without pushing tools under the deck. If the proposed route depends on a hidden low area beneath the structure, reconsider it before placing stone.
16. A Stepped Stone Feature on a Change in Level
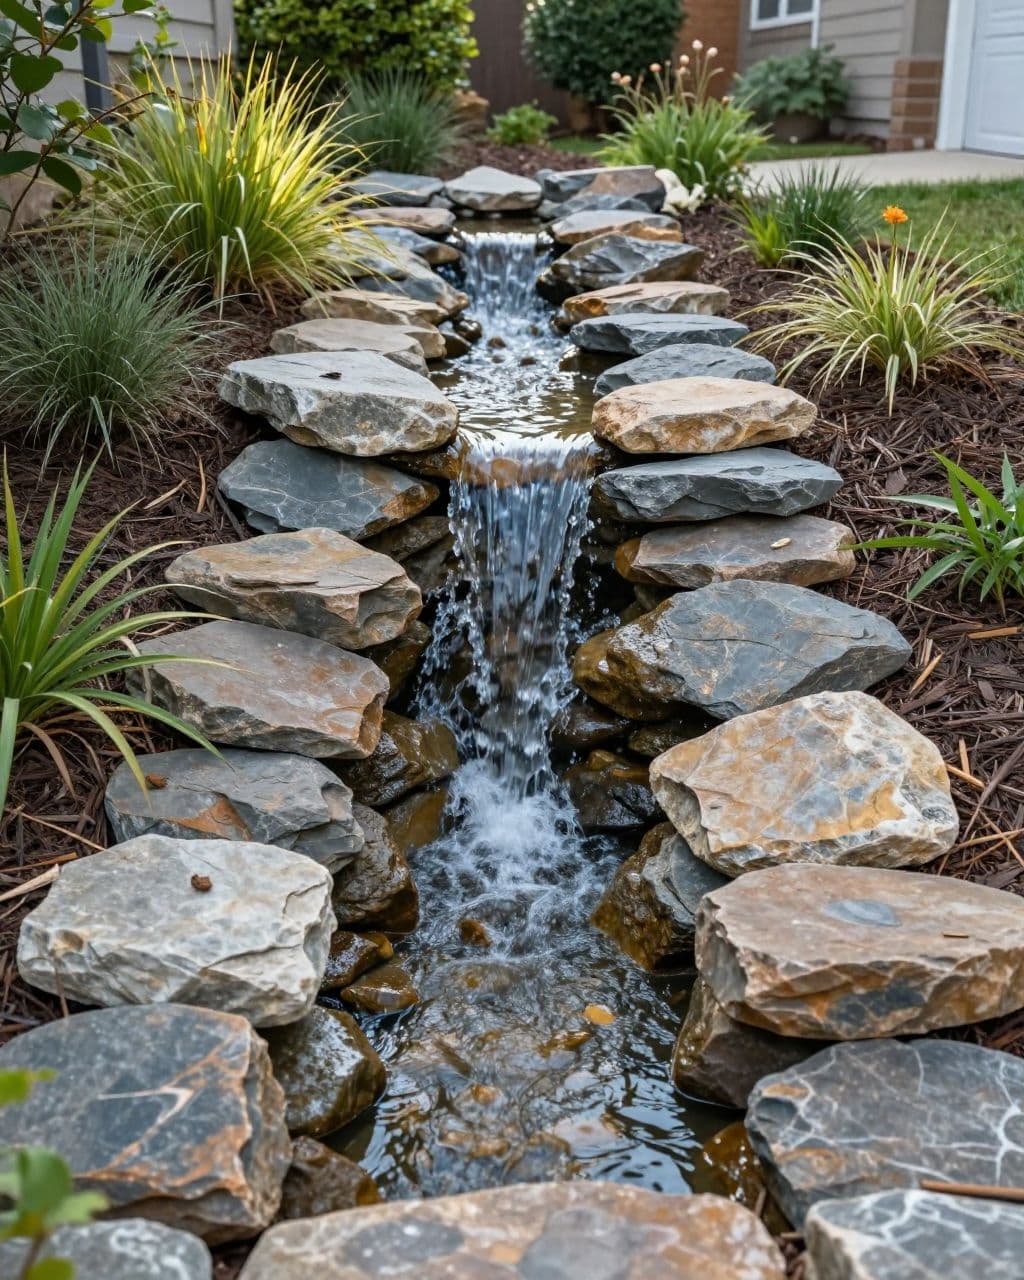
The pictured waterfall effect can be an attractive landscape feature, but a drop in a working drainage channel needs careful treatment. Falling water can concentrate force at the base and undermine the stones.
Use this idea as a visual reference for a professionally detailed transition or for a purely decorative feature outside the active channel. Do not assume stacked flat stones will safely manage a slope.
Key distinction: Grade-control structures and check dams are designed around water depth, overflow, stability, and downstream protection. A decorative cascade is not a substitute for those details.
Receiving Areas and the Finished Landscape
17. Garage-Side Drainage
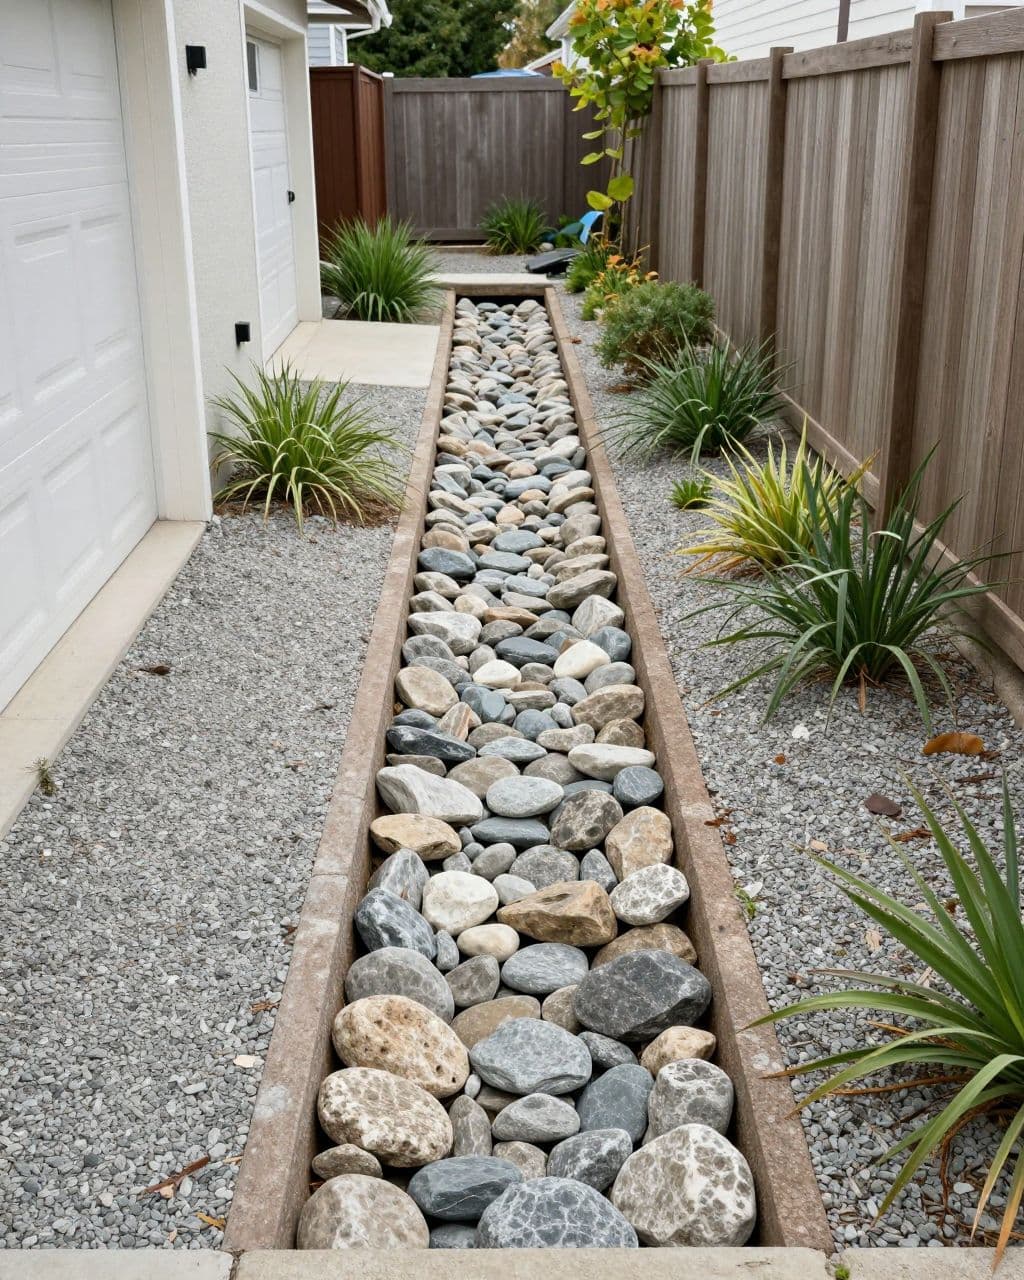
A narrow strip beside a garage may offer a possible route, but confirm the ground levels and the source of the water before digging. The issue may begin with roof discharge, paving that slopes toward the door, or another drainage defect.
Keep the proposed work clear of the slab edge, footings, siding requirements, and service access. Simply making a trench “lower than the garage floor” is not a complete design and may create new problems.
Priority: If water is already entering the garage, assess the building drainage problem first. Add the creek-bed appearance only once the route and outlet have been resolved.
18. Wide Swale With an Assessed Infiltration Area
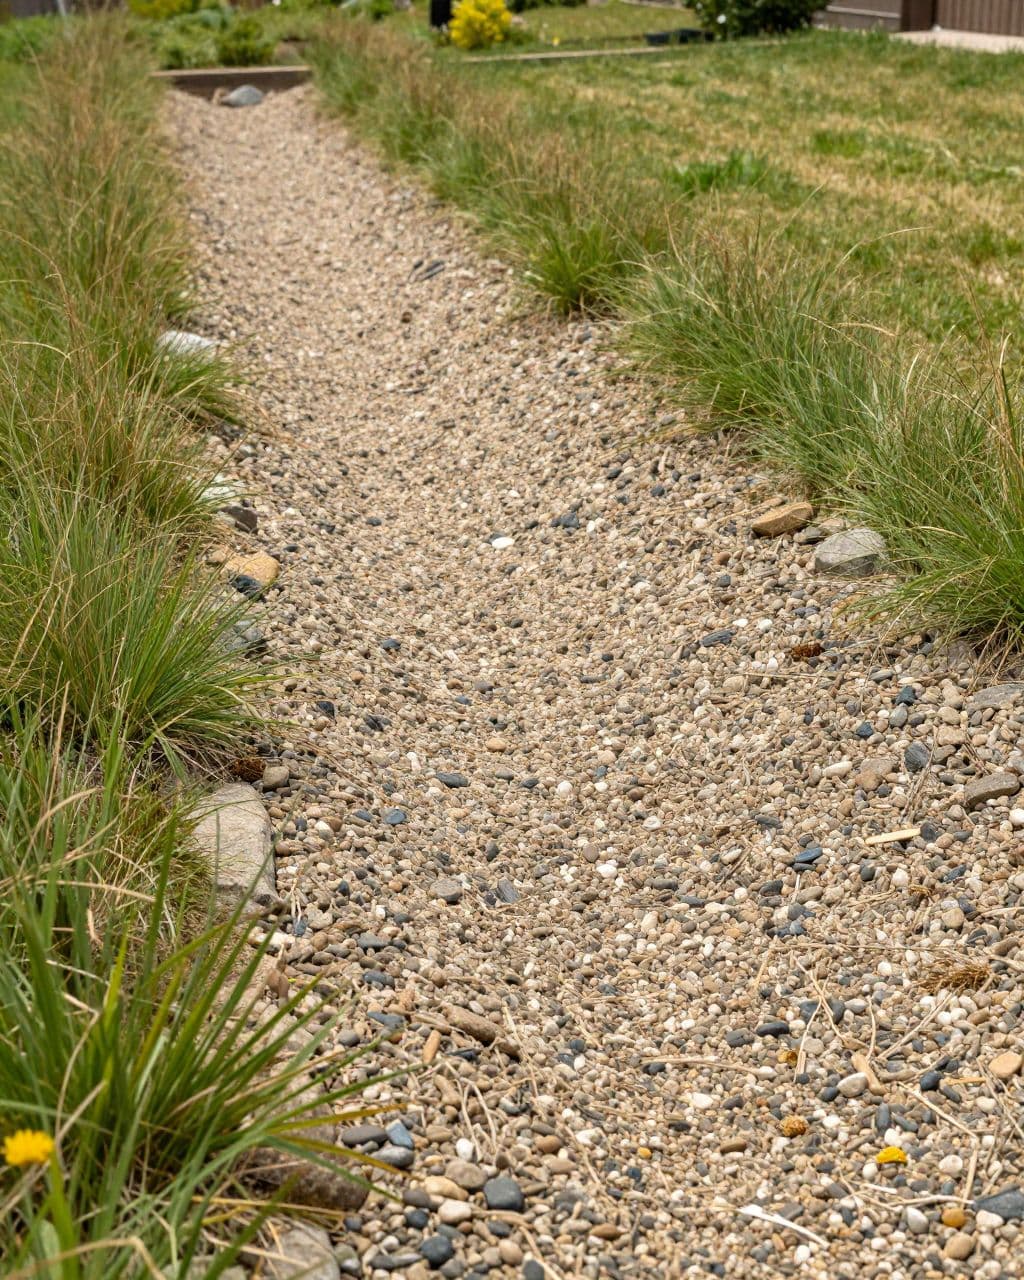
A broad, shallow outline can suit an open garden better than a narrow strip of rock. Its width also offers space for an accessible planted edge and a less abrupt transition to lawn.
Whether it can infiltrate useful amounts of water depends on testing and design, not on width alone. The OSU Extension overview of home rain gardens is a useful introduction to assessing planted runoff features.
Choose deliberately: Decide which part conveys water and which part is intended to receive it. Avoid treating an existing saturated low area as a suitable destination without investigating why it stays wet.
19. An Accessible, Low-Clutter Creek Bed
Finish with a design you can inspect. Keep ornaments, loose mulch, and spreading plants out of the active channel, and leave a practical approach to the inlet and outlet.
Repeat the same stone palette along the route so the feature looks connected. Group planting beside it rather than using foliage to hide every edge. A channel that disappears beneath plants may also hide sediment buildup.
Long-term goal: Low maintenance means fewer obstructions and easier access, not a promise that a rock-lined feature needs no care. Plan inspection points before the planting matures.
Choose Materials by Function, Then Appearance
Ask for a material schedule that separates the channel lining, any filter or separation layer, edge treatment, and optional accent stones. “Gravel” can describe products with very different sizes and amounts of fine material; it is not a precise specification.
For concentrated flow, the size and placement of erosion-control rock depend on the expected conditions. OSU’s swale guidance notes that angular rock is more effective than rounded rock for inlet energy dissipation. That does not make any bag of crushed stone suitable for every channel. Obtain a site-appropriate detail instead of selecting by color alone.
The Resource Conservation District of Santa Cruz County’s home drainage guide, hosted by USDA NRCS, describes nonwoven geotextile beneath rock-lined swales. This is a separation or filtration detail, not a reason to install impermeable pond liner or generic weed membrane. Where a filter layer is specified, its properties must suit the soil and lining. Follow that detail; fabric does not correct an inadequate outlet or prevent every weed.
Estimate Stone Volume Without Confusing It With Channel Capacity
Measure the stone layer you intend to order, rather than treating the full excavated channel as solid rock. Estimate separate sections where widths or layer thicknesses differ, then add them together. For an irregular bed, a supplier can help convert the shape into an order quantity.
Stone volume in cubic feet = length × average width × average layer thickness
Stone volume in cubic yards = cubic feet ÷ 27
Arithmetic example: A 20-foot-long stone layer averaging 3 feet wide and 3 inches thick is 20 × 3 × 0.25 = 15 cubic feet, or approximately 0.56 cubic yards. These are example ordering dimensions, not a recommended drainage-channel size. Side slopes, larger rock, voids, and variable thickness change the actual order.
If the supplier sells by weight, ask for the conversion for that specific stone and the supplier’s allowance for the proposed placement. Do not apply a single tons-per-yard figure to every material. The visible volume of rock also does not equal usable stormwater storage.
A Practical Sequence for the Work
Once the site-specific layout and any required permissions are settled, use this sequence to organize the project. Keep the design dimensions and material details on hand during installation rather than relying on the photograph.
- Set out: Mark the channel limits, entry point, outlet, access route, and features to remain untouched. Confirm utility clearance before excavation.
- Shape: Form the channel to the assessed grades and profile. Check elevations before covering the soil; do not use decorative stone to conceal an uncorrected high point.
- Build the details: Install the specified filter layers, lining, and inlet/outlet protection. Resolve crossings and edging before they become buried or difficult to alter.
- Finish: Place planting outside the required flow space and protect disturbed ground using the project’s erosion-control detail.
- Inspect: Record the finished levels and photograph the channel. Watch its behavior from a safe location during rain, then inspect afterward for bypass flow, settlement, or displaced material.
A modest hose test may reveal a local high spot, but it does not reproduce a storm or prove the channel’s capacity. If the system overtops or erodes, investigate the reason rather than repeatedly topping it up with stone.
What to Check After Rain
| What you find | What it may indicate | What to investigate |
|---|---|---|
| Water bypasses the inlet | The entry is raised, obstructed, or poorly positioned | Inlet elevations and the actual runoff route. |
| A persistent pool in a conveyance section | A low spot, blocked outlet, or backwater | Finished grades, outlet condition, and the downstream receiving area. |
| Stone gathers farther down the channel | The lining is being displaced | Rock suitability, concentrated flow, and the need for a revised design. |
| Bare soil appears at an edge or drop | Local erosion or undercutting | Channel transitions, bank protection, and downstream effects. |
| Fine sediment fills the gaps | Soil is washing in from an upstream or adjoining area | The sediment source as well as the affected lining. |
Inspect before the rainy season, after significant storms, and whenever leaves or garden debris accumulate. Remove obstructions without changing the designed channel profile. Recurring failures call for a design review rather than a larger decorative border.
Questions to Resolve Before You Start
How wide and deep should a DIY creek bed be?
There is no single width and depth that suits every yard. The contributing area, rainfall, slope, channel profile, roughness, and outlet all affect the required dimensions. Use photographs to choose an appearance, then have the drainage dimensions checked for your site.
Can I build it on a flat yard?
A flat-looking yard needs measured elevations. A channel cannot move water uphill to its outlet. If there is insufficient fall, investigate suitable infiltration or another drainage approach rather than digging a long level trench and expecting the stone to make it drain.
Will it solve drainage in clay soil?
Not by adding rock alone. A surface channel may carry runoff across slow-draining ground if it has a suitable outlet, while an infiltration feature depends on soil testing and other site conditions. Make that choice before excavation.
Should the creek bed dry out after rain?
Distinguish a channel intended to convey water from a receiving area designed for temporary ponding. A persistent pool in the former deserves investigation. For rain gardens, University of Minnesota Extension uses a 48-hour infiltration check in its homeowner guidance. Apply your local design and drain-down criteria rather than treating that example as a universal rule.
Where can I get help checking the plan?
Start with your local stormwater office, conservation district, or extension service for relevant homeowner resources. For channel sizing, recurring erosion, structural drainage issues, or complicated terrain, use a qualified drainage or civil professional familiar with local conditions.
Before ordering materials, have three answers written down: where the runoff enters, how the channel carries it, and where it safely goes next. Once those are resolved, the stone and planting can make the drainage feature look like it belongs in the garden.


