18 DIY Coffee Table Wood Makeover Ideas on a Budget
Your coffee table sits right in the center of your living room, and it deserves to look the part. The good news is you don’t need to spend a fortune to make it happen.
A little sanding, the right stain, and a free weekend can completely transform what you already own. These 18 ideas are simple, budget-friendly, and genuinely doable at home.
1. Pallet Wood Coffee Table Build
Pallets are often free from local businesses, garden centers, or hardware stores, making this one of the most budget-friendly builds out there.
Sand them down, add some basic legs, and you’ve got a table with real rustic character.
Always look for pallets marked HT (heat-treated) to make sure they’re safe to use indoors. A coat of clear sealant at the end gives it a clean, finished look without hiding that natural charm.
Hey there! Some links on this page may be affiliate links which means that, if you choose to make a purchase, I may earn a small commission at no extra cost to you.
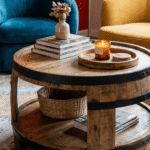
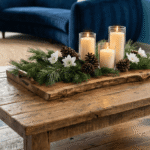
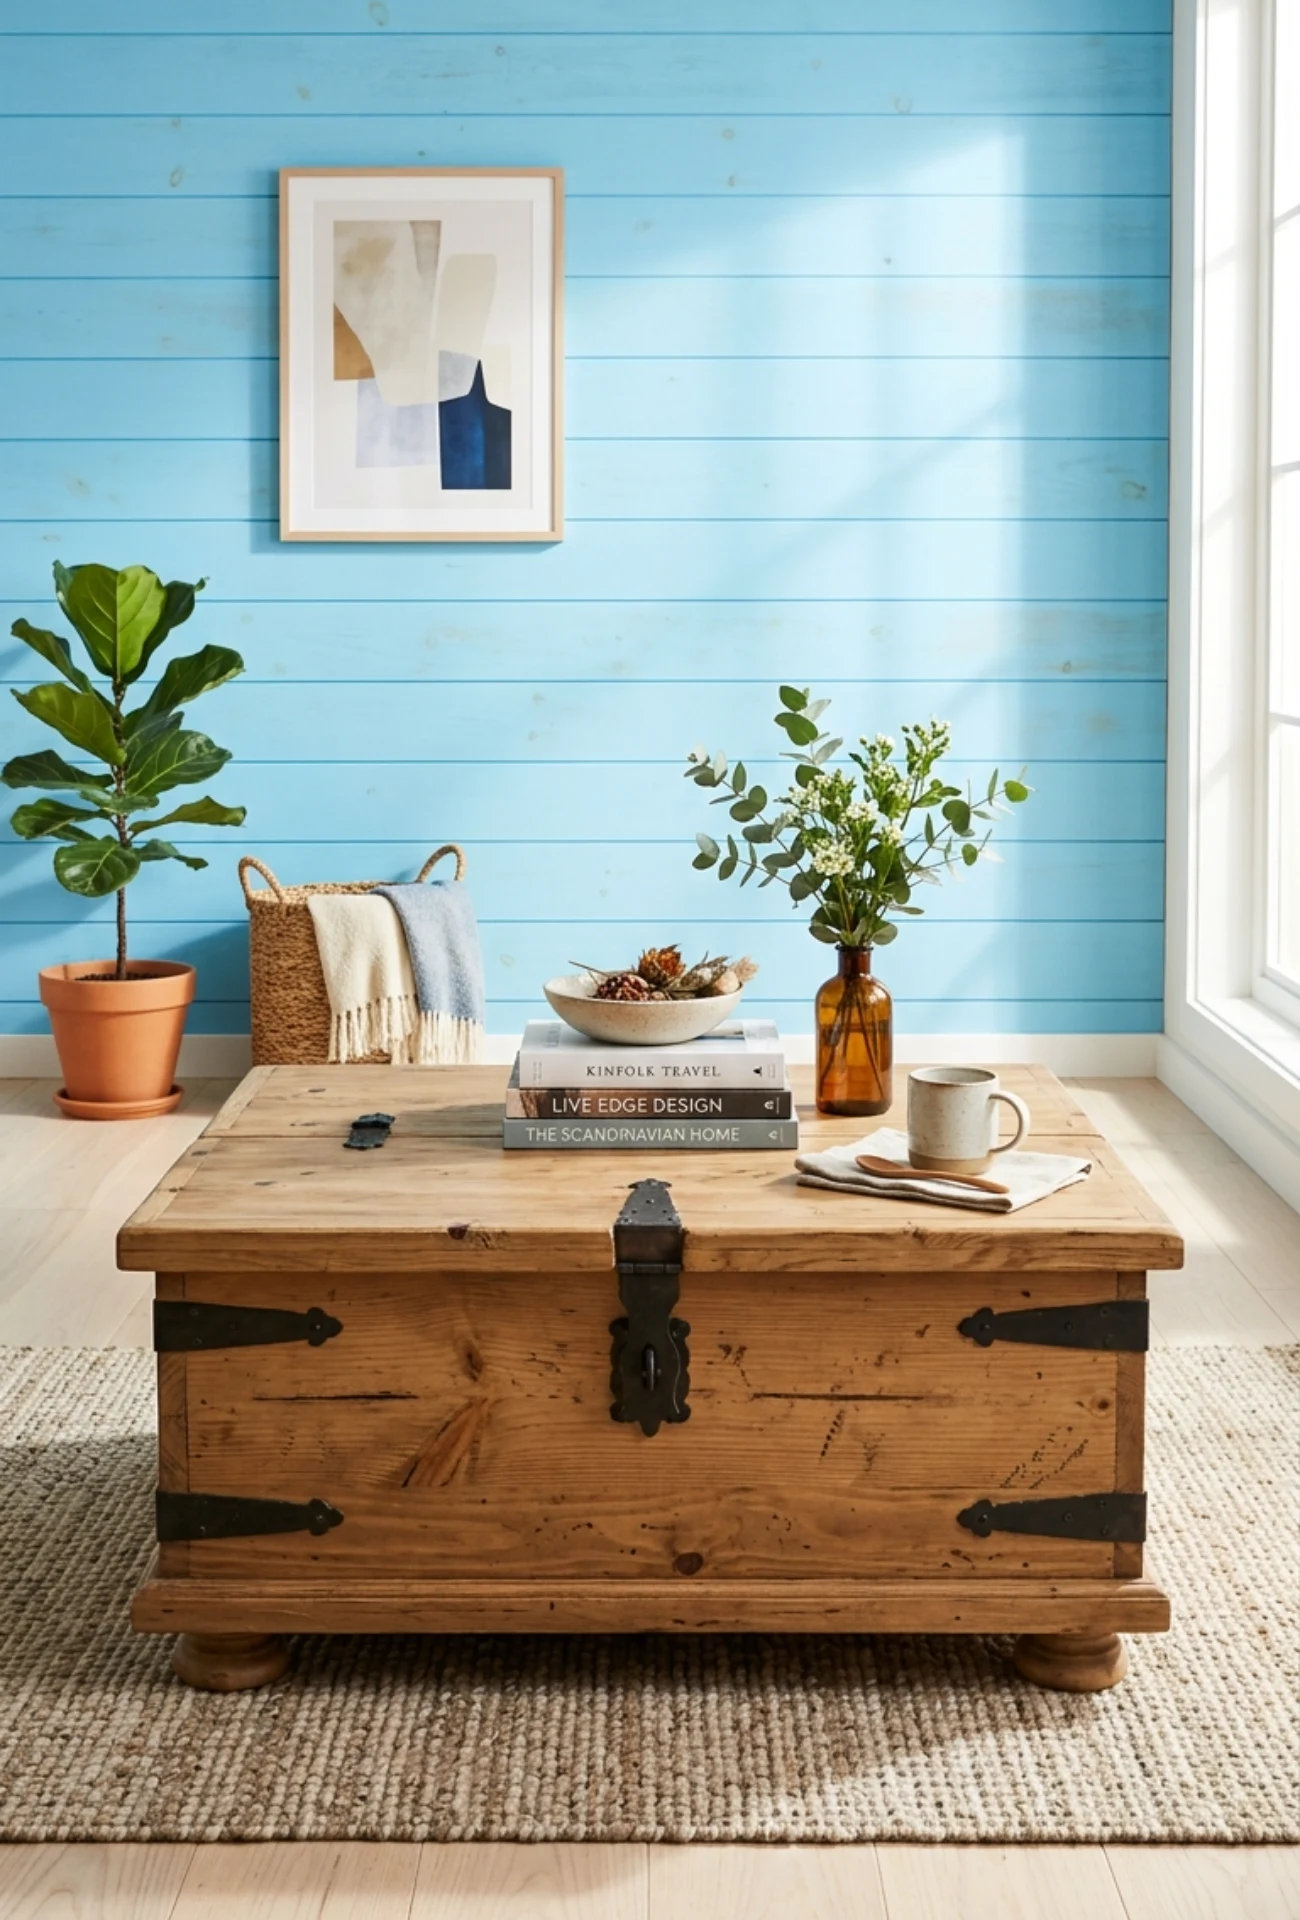
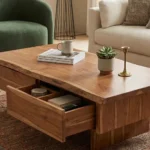
2. Reclaimed Wood Slab Tabletop
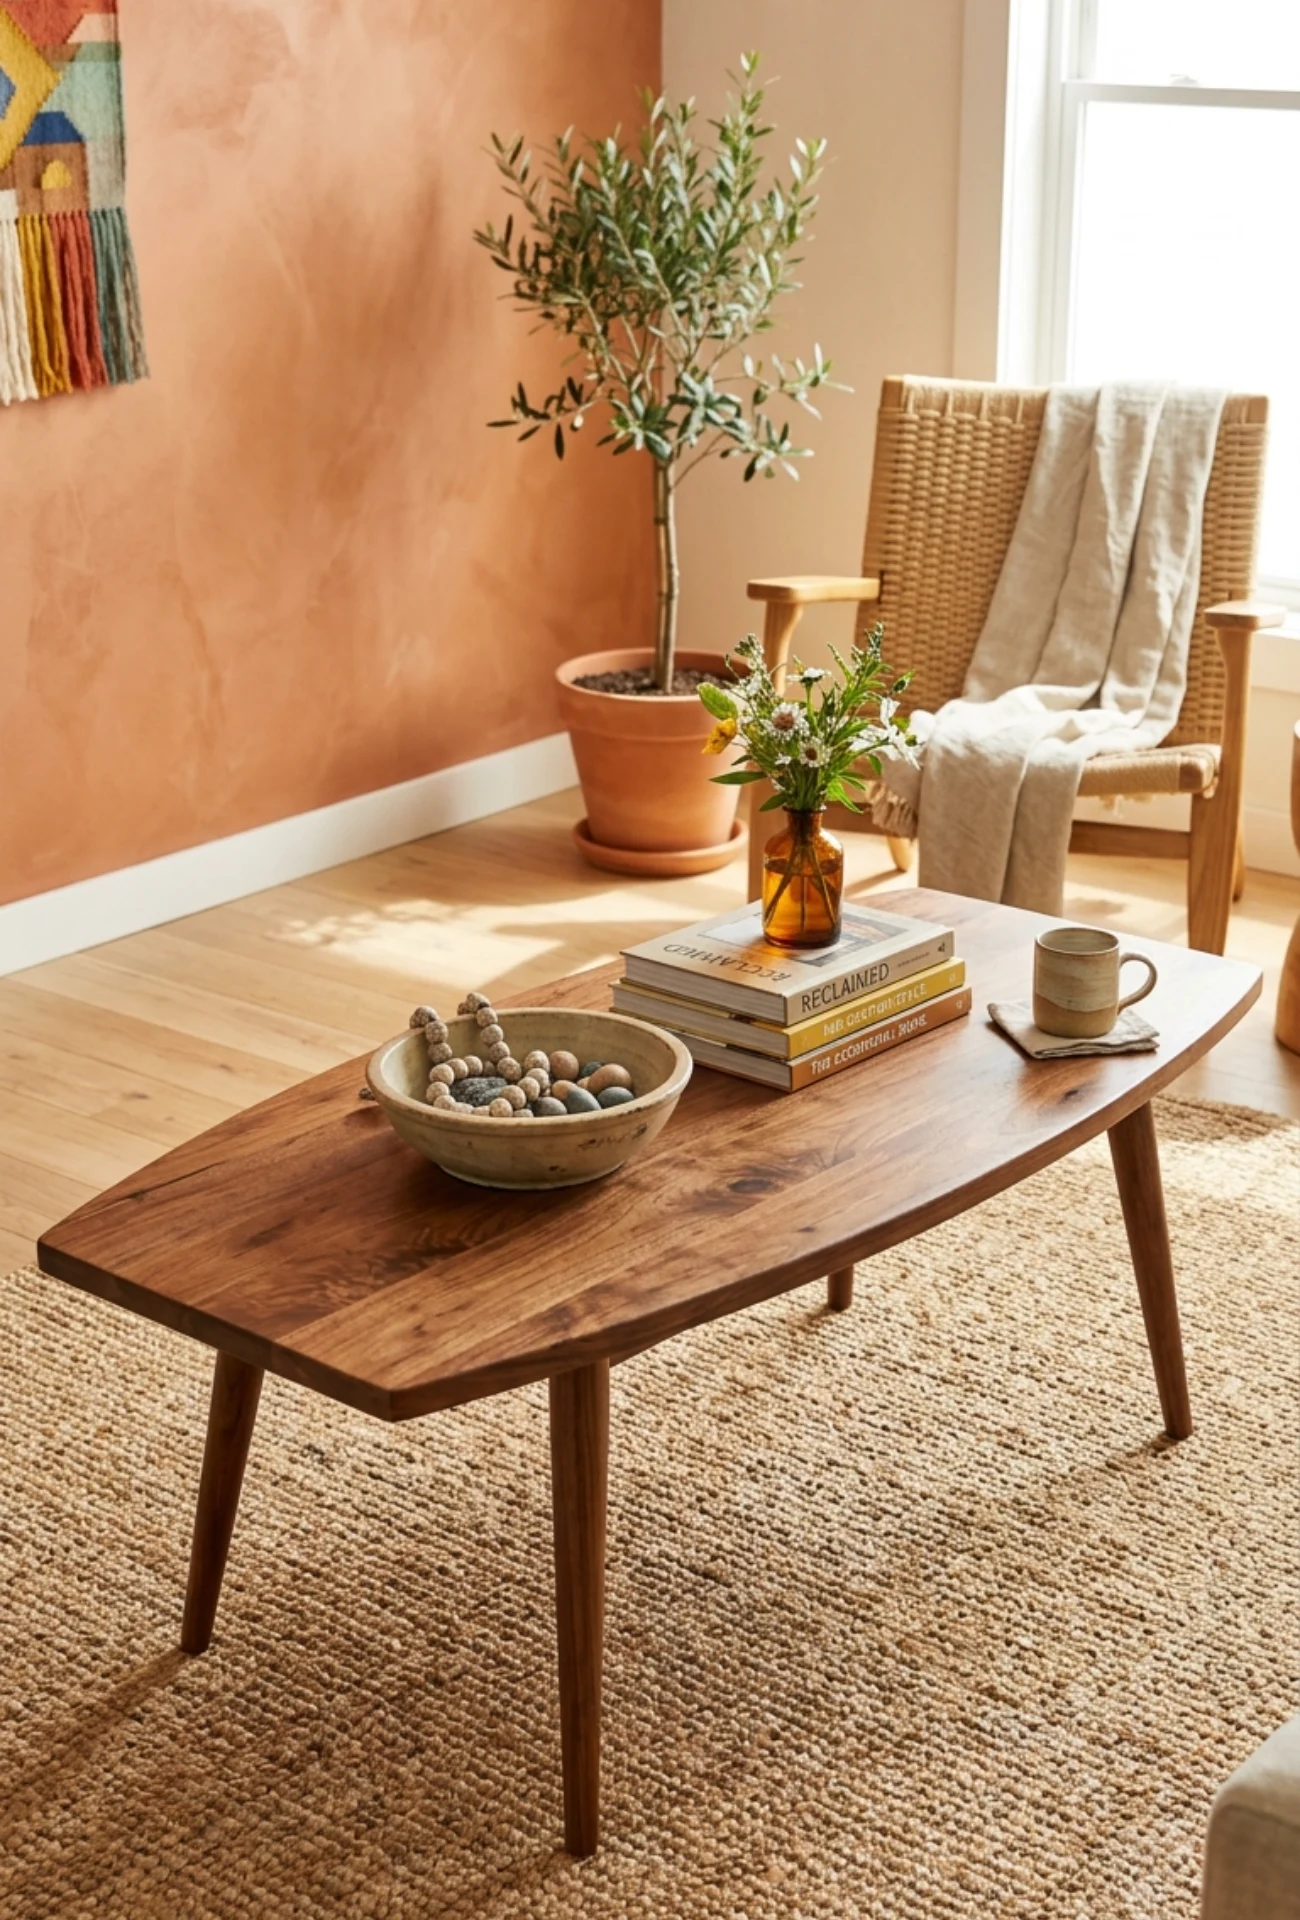
Reclaimed wood carries texture, grain, and a kind of lived-in beauty that new wood just can’t replicate. Swap your old tabletop for a salvaged slab and the whole room feels warmer instantly.
Check salvage yards, antique stores, or even Facebook Marketplace for affordable finds. Seal it well and let the natural imperfections do all the decorating for you.
3. Sanded Natural Wood Revival
If your coffee table has a tired finish or peeling veneer, a good sand-down can completely change how it looks.
Stripping it back to bare wood reveals the real grain underneath, which is often more beautiful than anything layered on top.
Use medium-grit sandpaper first, then finish with fine-grit for a smooth, touchable surface. A simple clear coat or natural oil is all it needs after that.
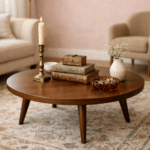
4. Dark Walnut Stain Transformation
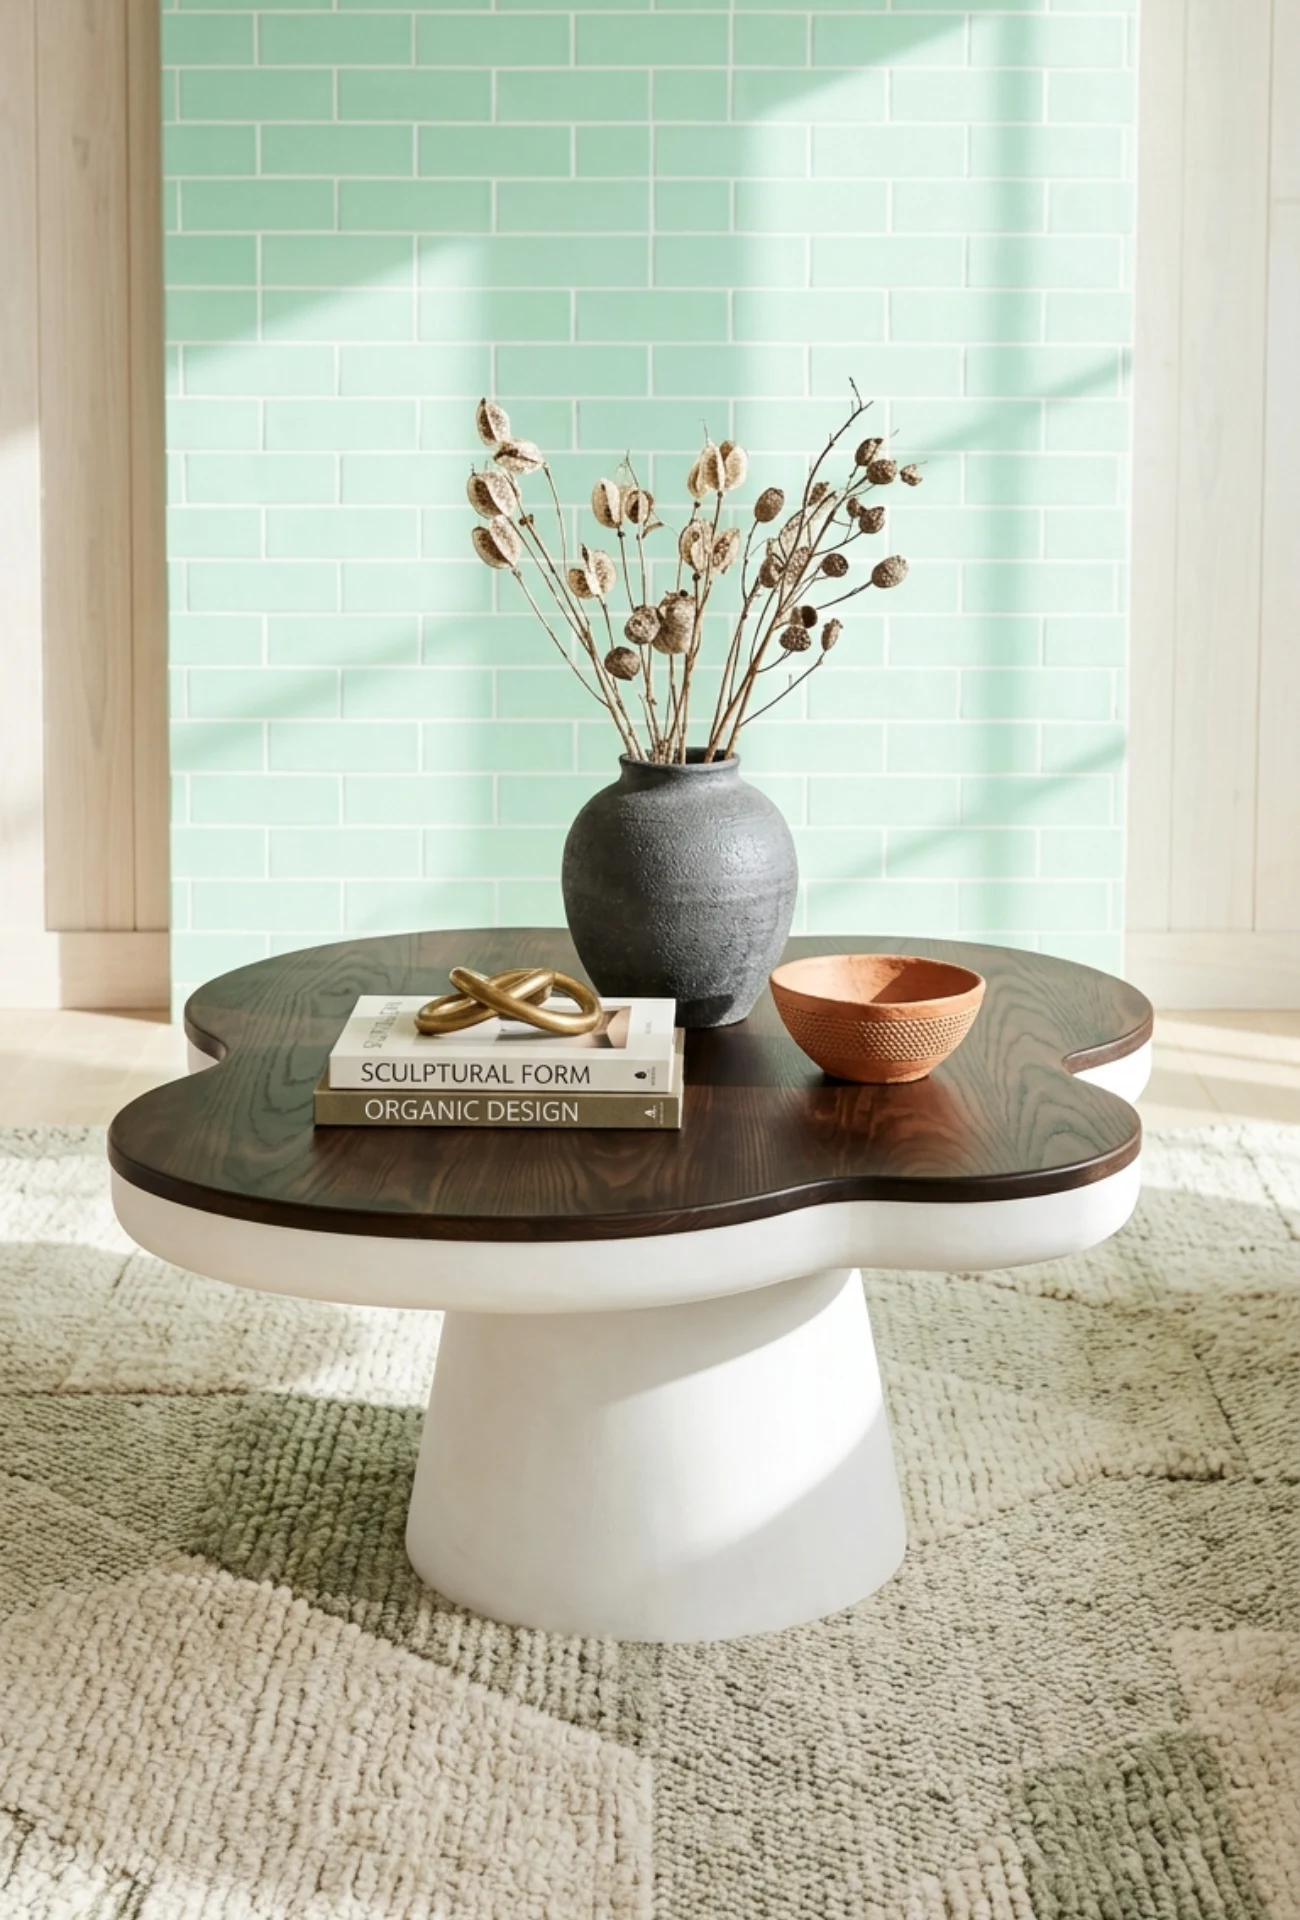
Dark walnut stain makes almost any wood look expensive and intentional. It deepens the grain and adds a richness that pairs beautifully with neutral or earthy room tones.
Apply it in thin, even coats with a lint-free cloth and wipe off the excess before it dries. Two coats usually gives you that deep, moody finish without looking overdone.
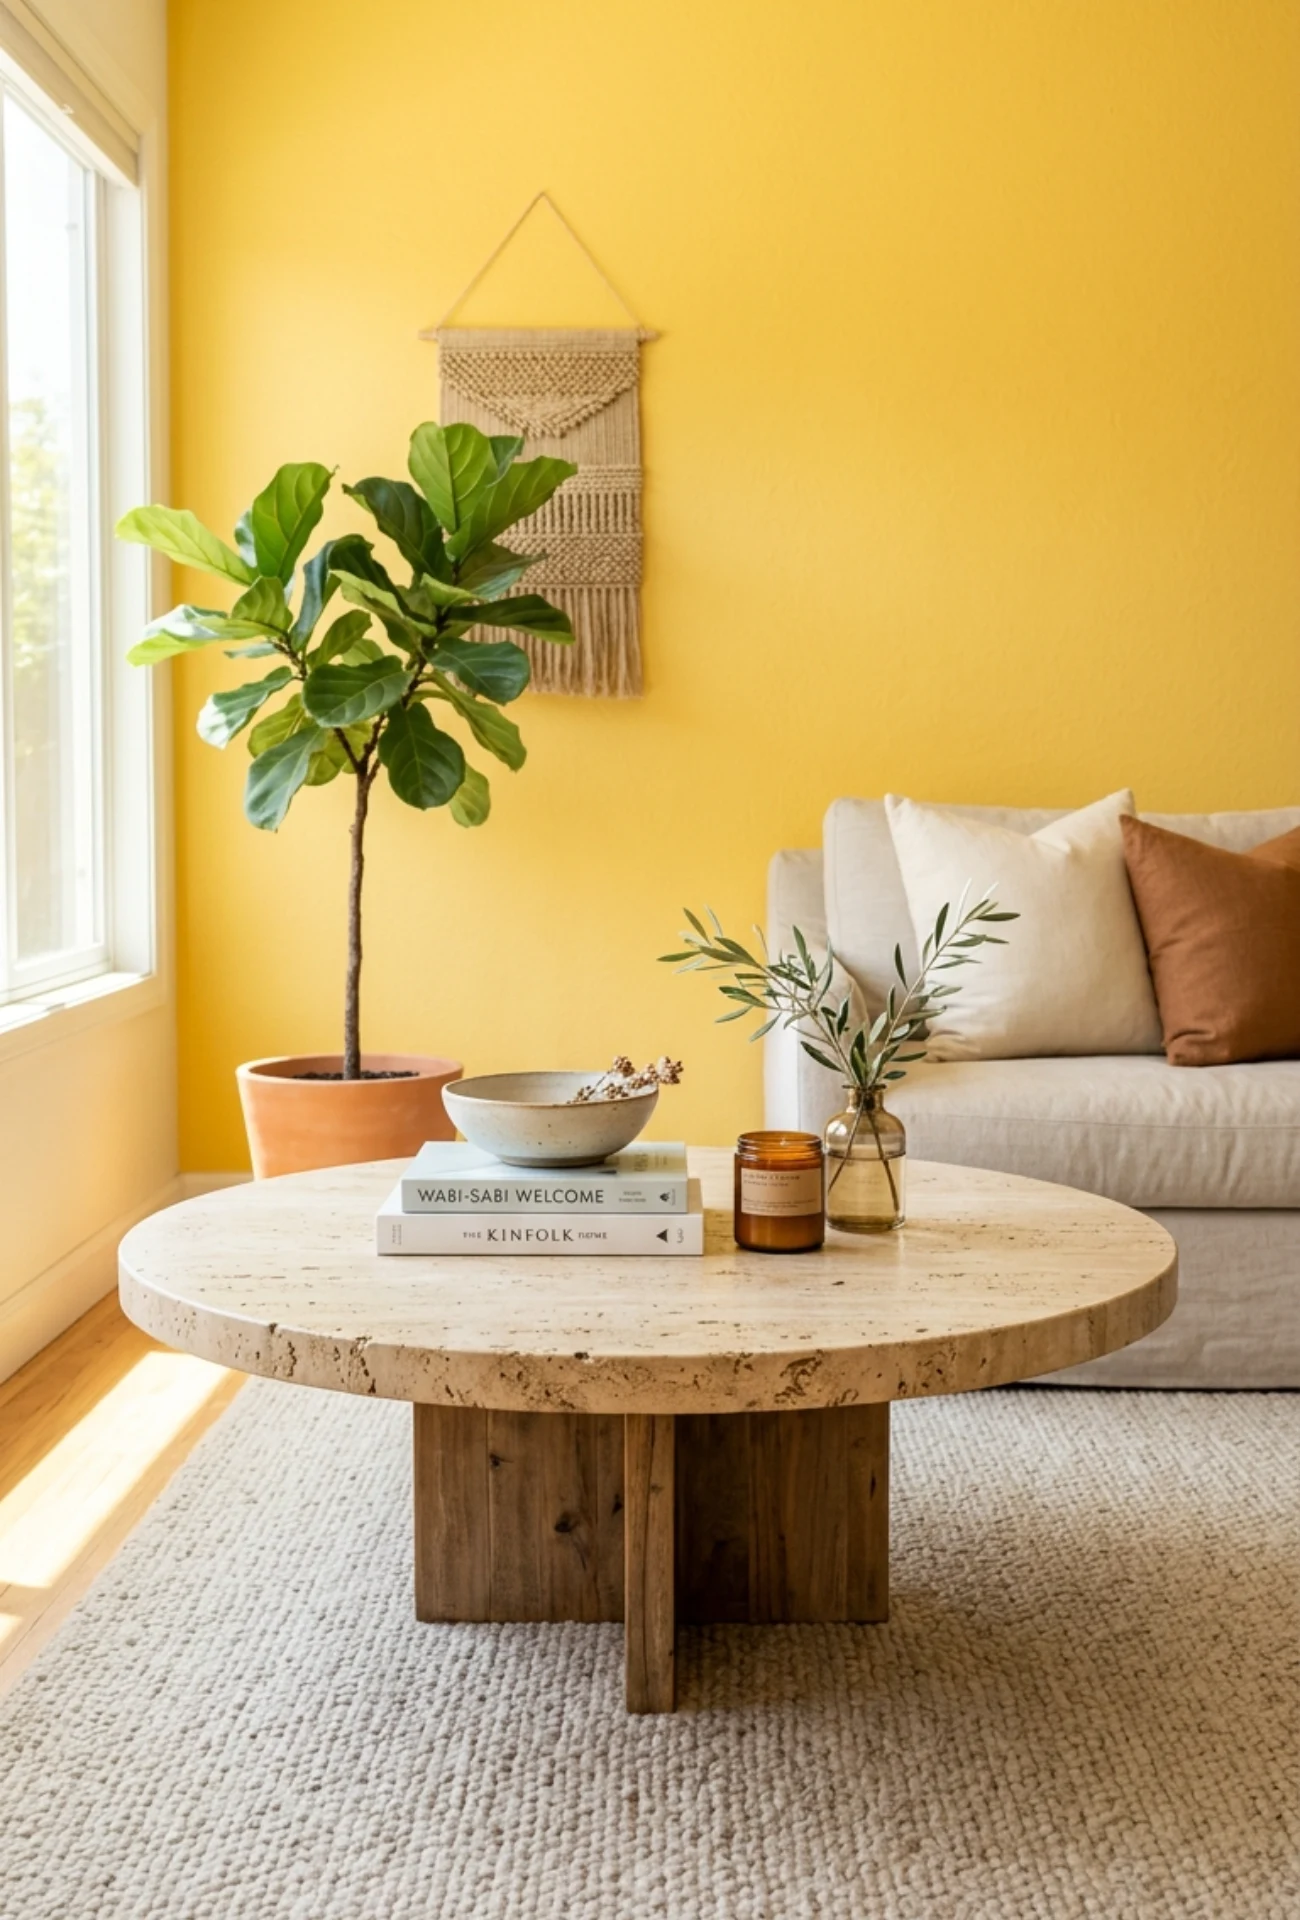
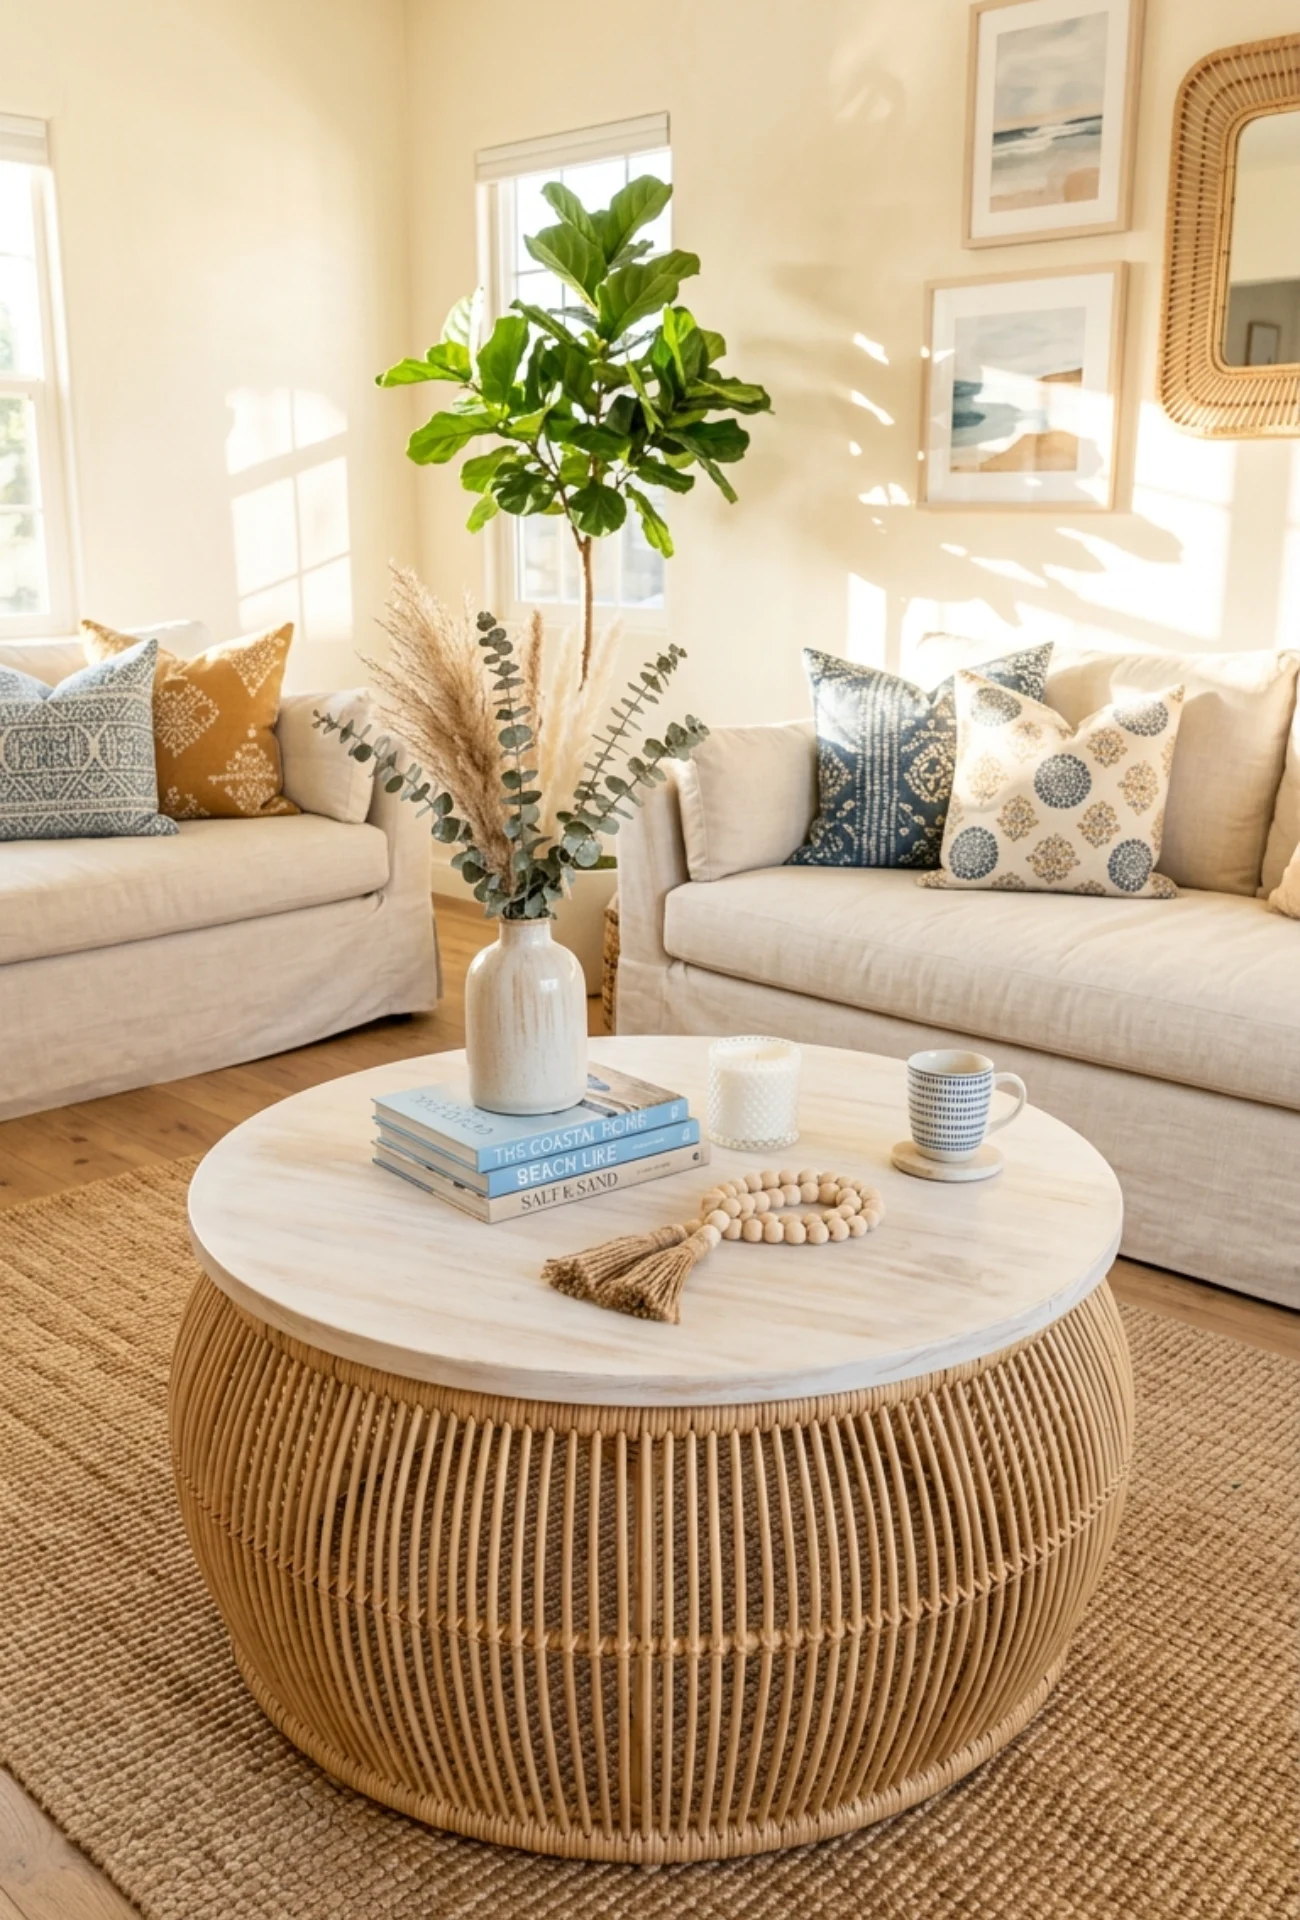
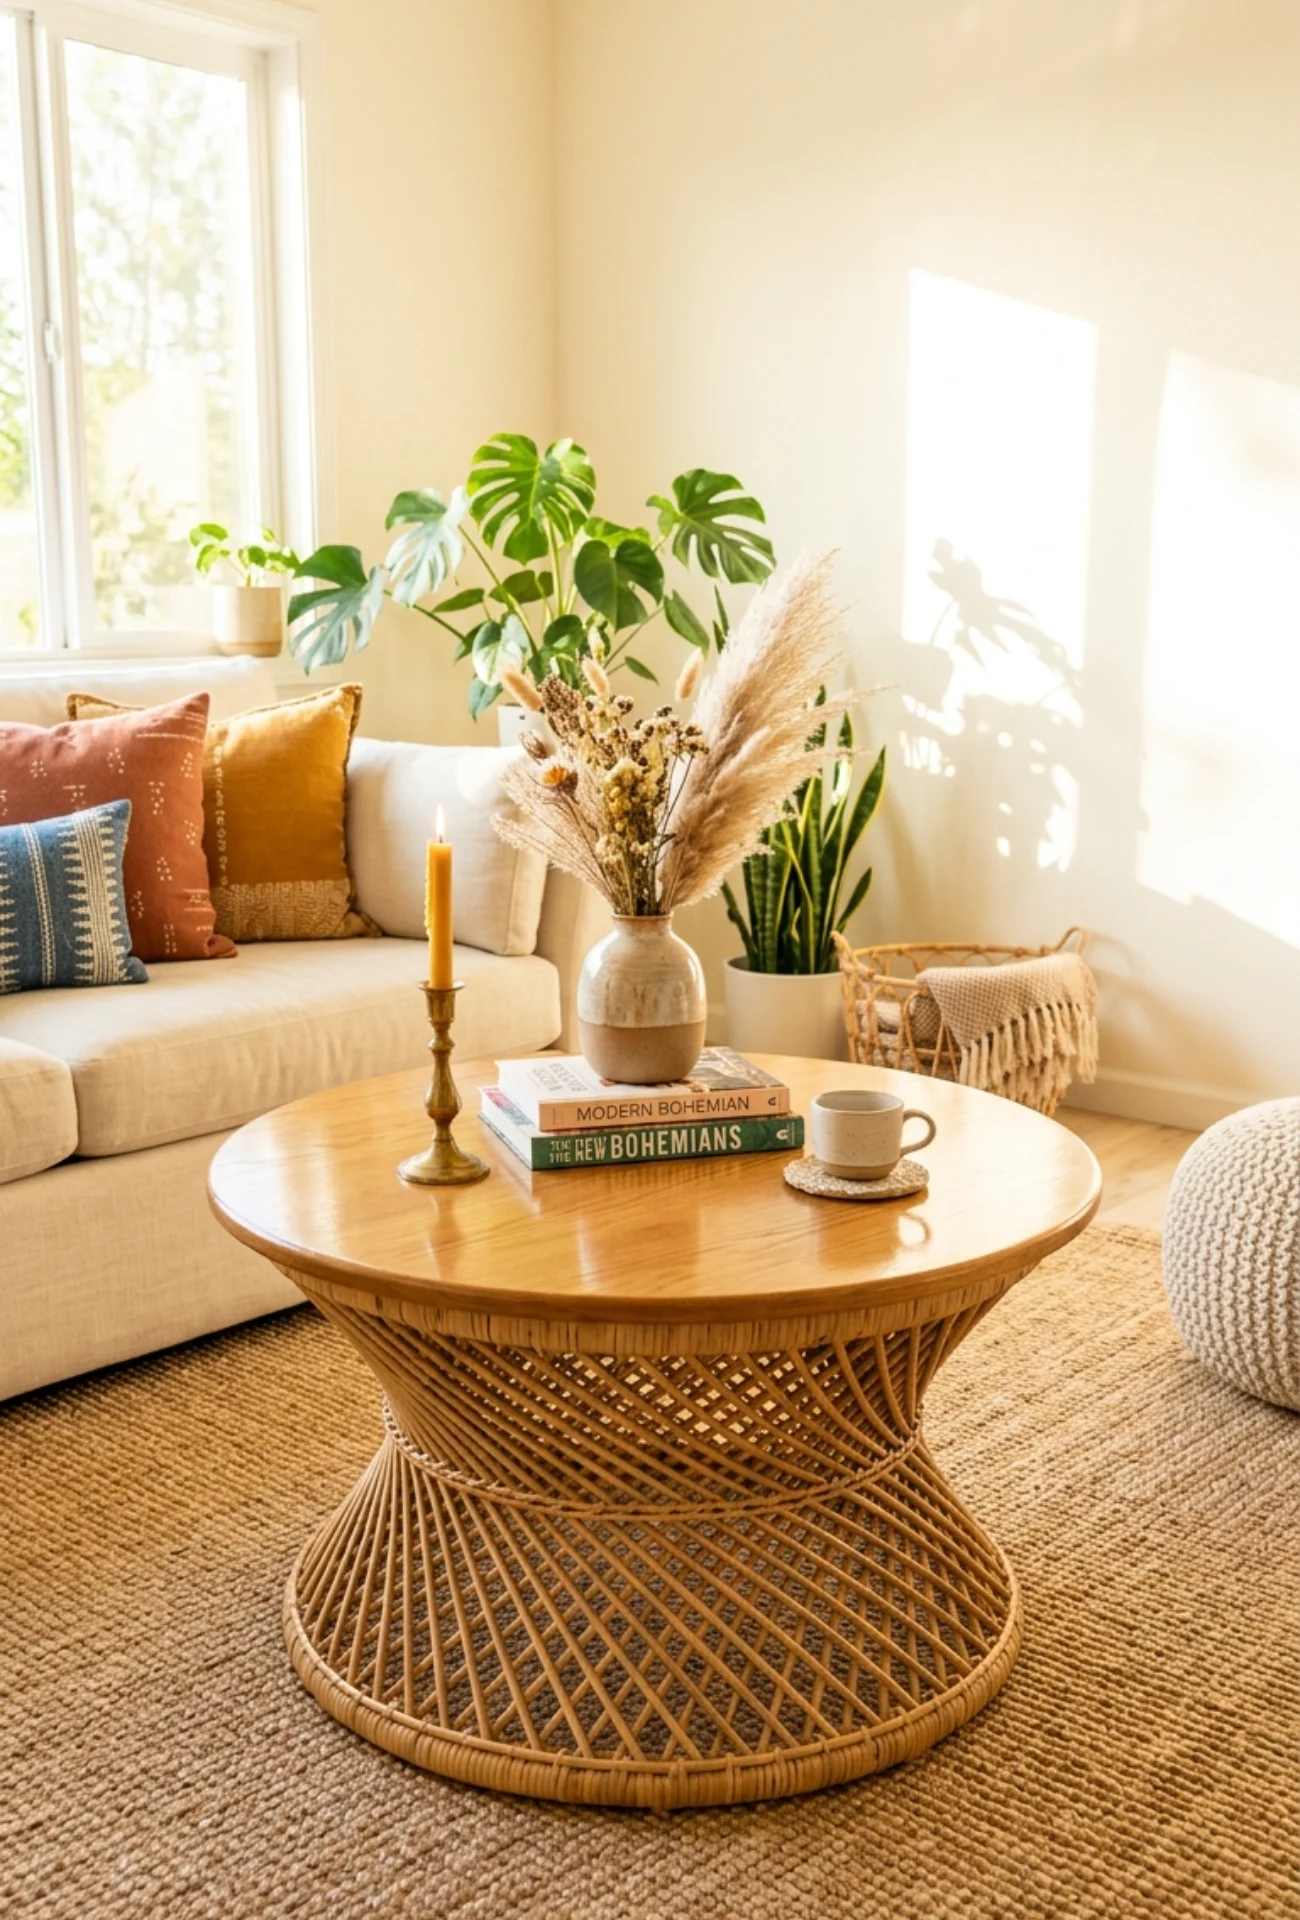
5. Light Oak Scandinavian Finish
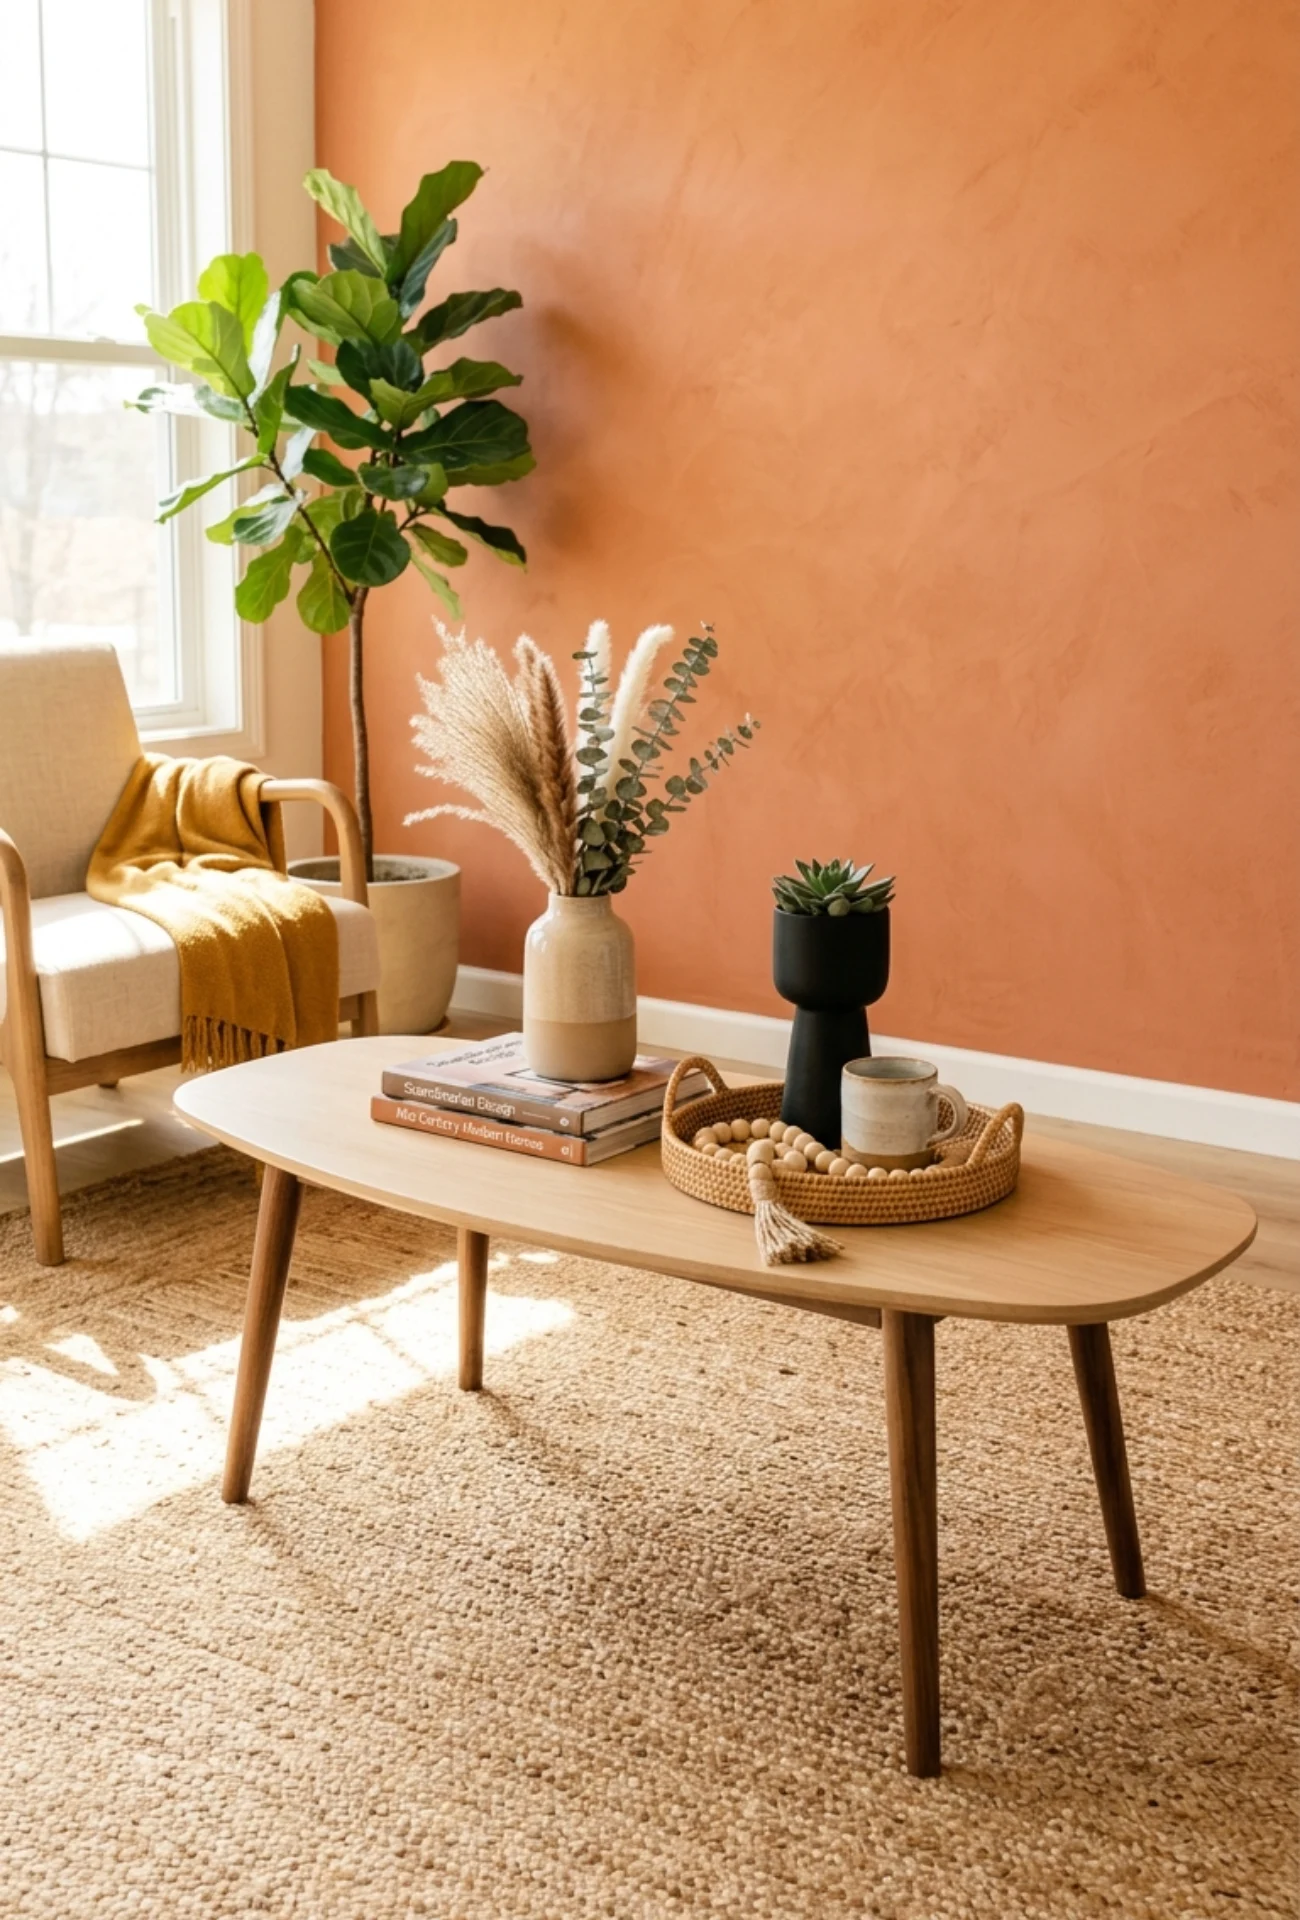
Light oak finish gives your coffee table that clean, airy look that works in almost any living room. It keeps things bright without feeling cold, which is exactly what the Scandinavian style does so well.
Pick a light-toned wood stain or a diluted golden oak and apply it lightly over sanded wood. Pair it with simple black legs or natural rattan accessories to complete the look.
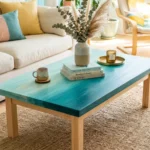
6. Two-Tone Wood + Paint Combo
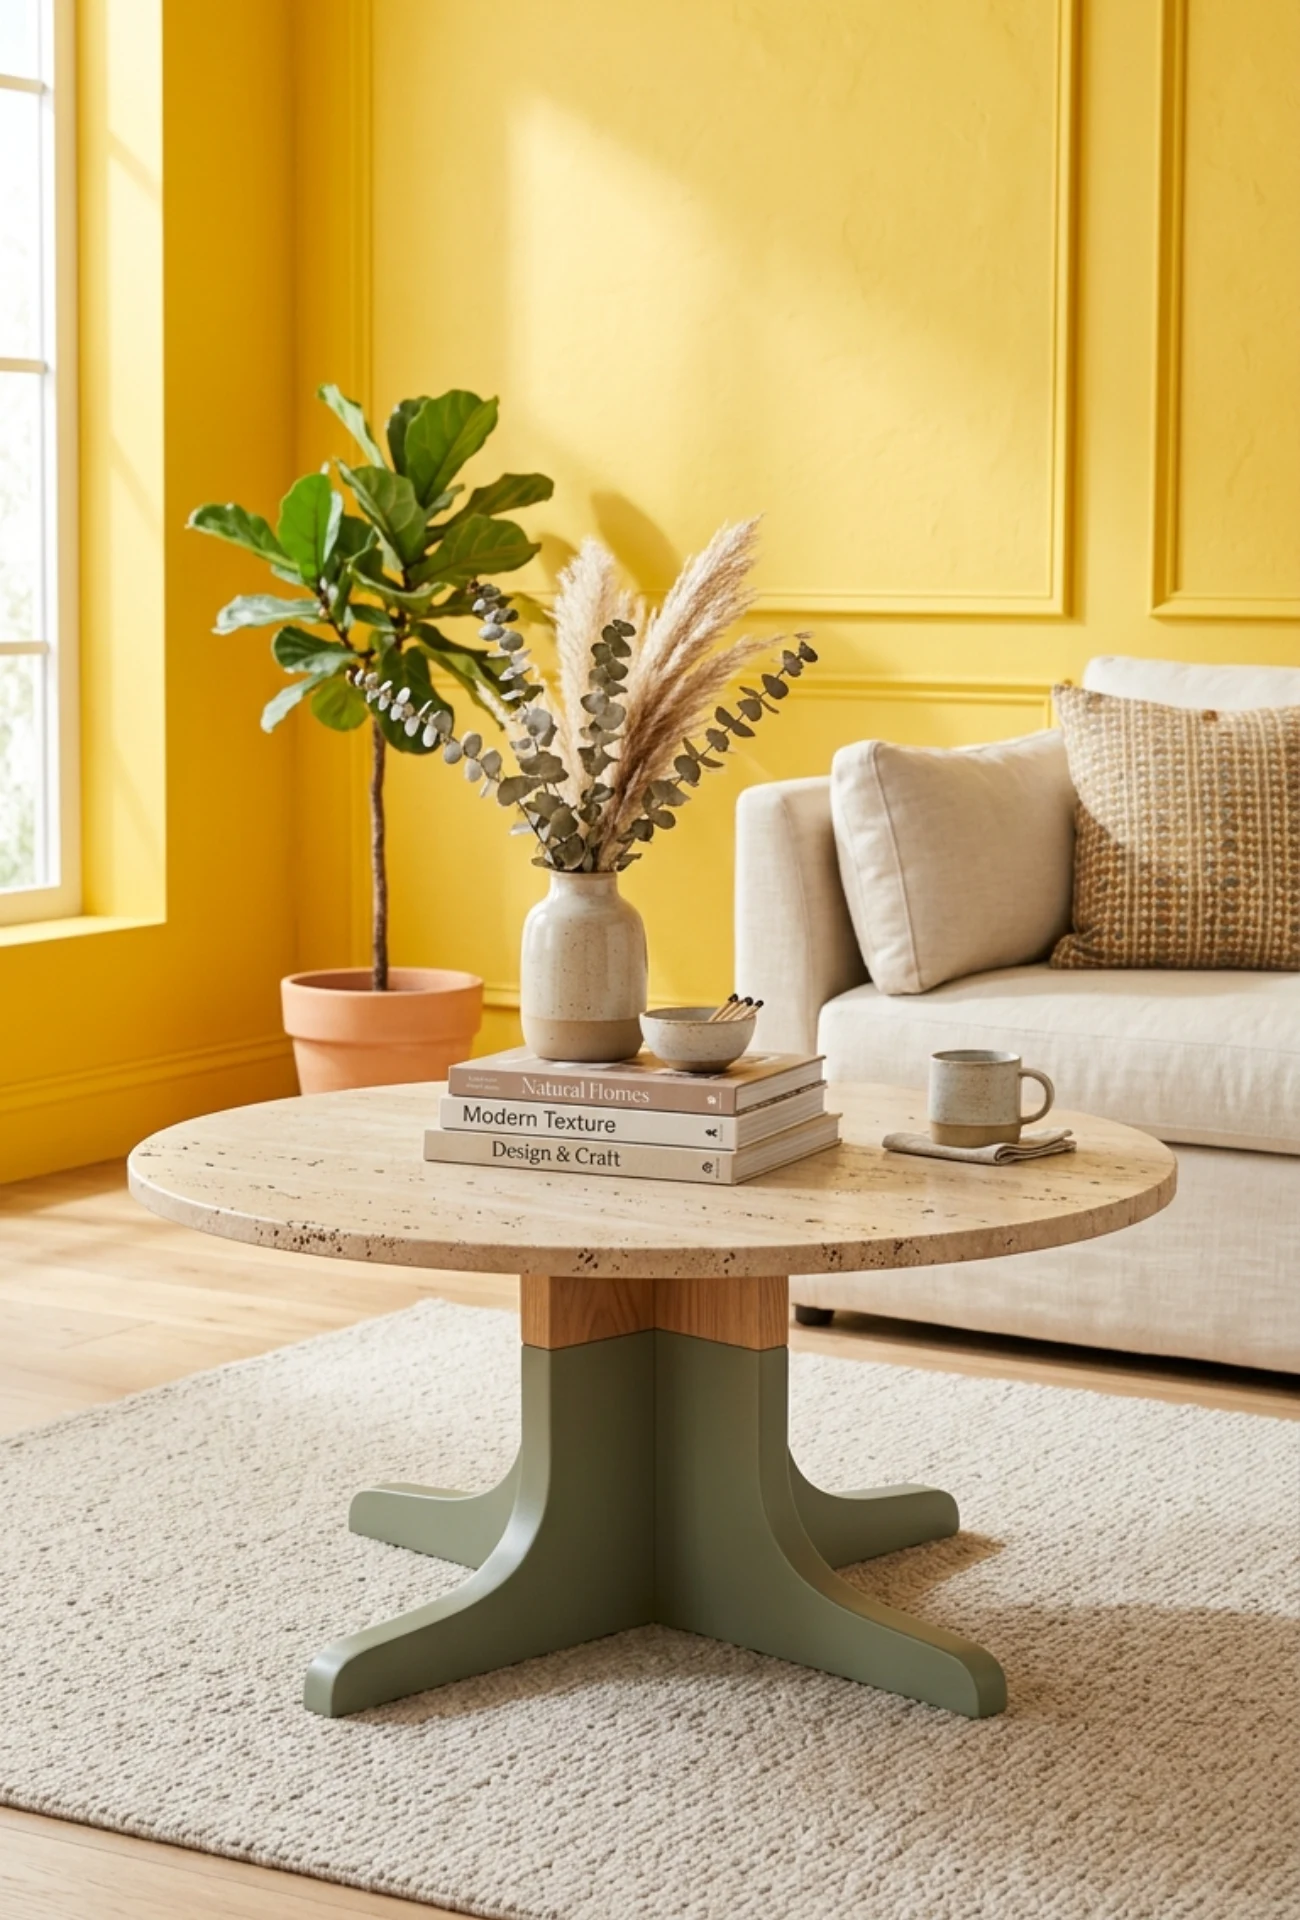
Combining natural wood with a painted section is a simple trick that adds a lot of visual interest. The contrast between the two finishes makes the table look more intentional and modern.
Try painting the base or legs in a matte color like sage green, dusty blue, or warm white while keeping the top natural. It’s an easy way to bring in a color accent without committing to a fully painted piece.
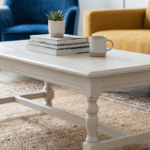
7. Whitewashed Coastal Wood Look
Whitewashing is one of the easiest ways to give wood that relaxed, beachy feel without completely covering the grain. The finish looks light, breezy, and effortlessly casual.
Mix white paint with water at roughly a 1:1 ratio, brush it on, and wipe it back while it’s still wet. The more you wipe, the more wood shows through, so you can control exactly how subtle or bold you want it.
8. Weathered Driftwood Effect

That sun-bleached, salt-worn look of driftwood is actually pretty easy to recreate at home. It works especially well on older tables that already have some texture and wear to them.
A mix of gray and white watered-down paint layered over sanded wood gets you most of the way there.
Dry-brushing lightly with a second tone adds depth and makes it look like the wood has been outside for years.
9. Rustic Distressed Wood Finish
Distressing a coffee table is all about making it look like it has lived a good life. Dents, scratches, and worn edges give it personality that a brand-new table just doesn’t have.
Use a hammer, keys, or a chain to lightly beat the surface before staining, then sand the edges so they look naturally worn. Finish with a dark stain to make all those little details pop.
10. Herringbone Wood Pattern Top
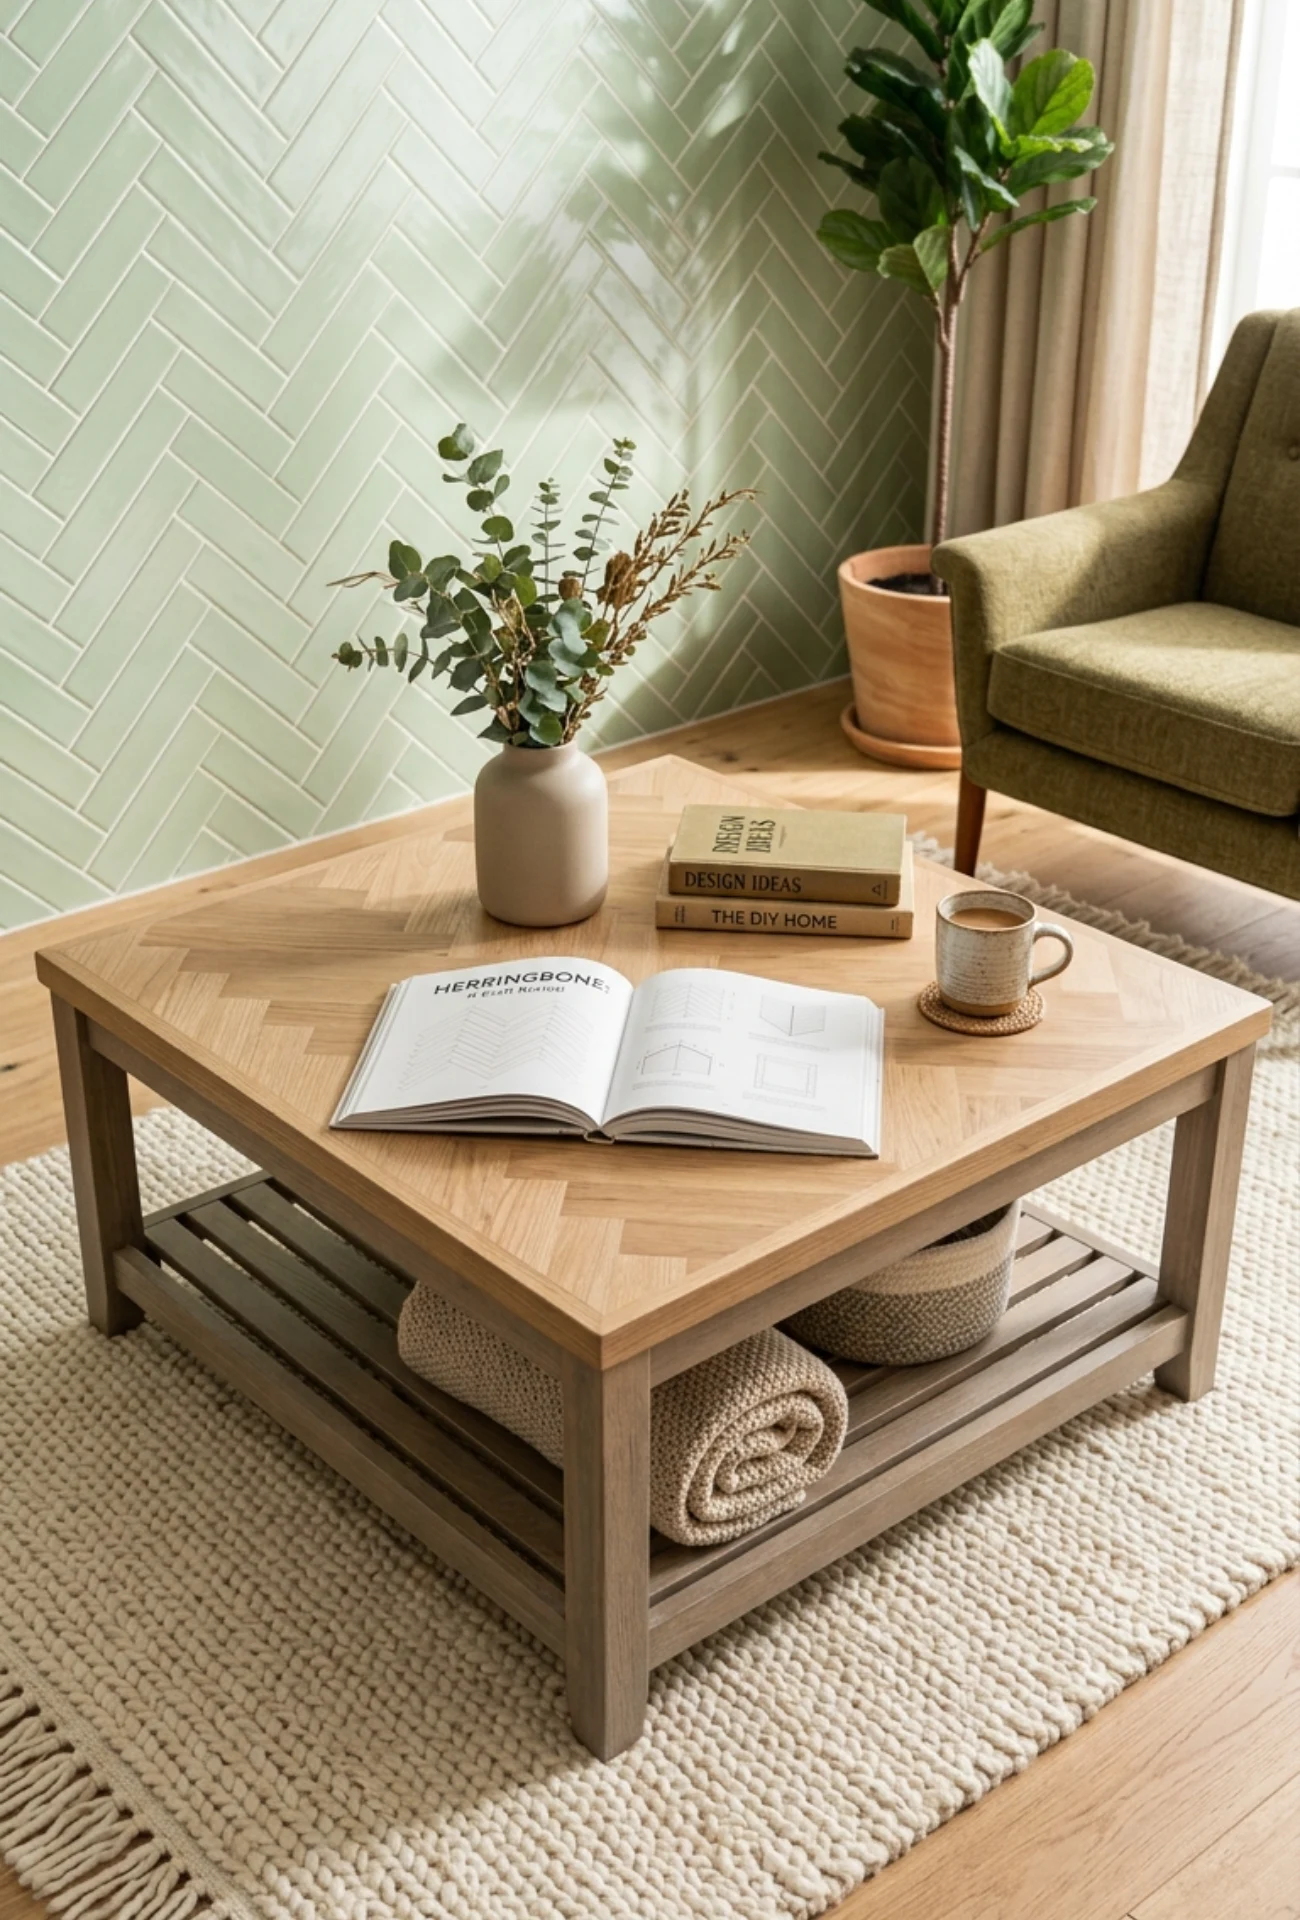

A herringbone top turns a basic coffee table into something that genuinely looks custom-made. The angled pattern draws the eye and adds a level of craftsmanship that people always notice.
Cut thin wood strips at 45-degree angles and glue them down onto a flat tabletop surface in the classic V pattern. Sand everything flush once dry, then seal it well so the pattern stays crisp and clean.
Here is a quick comparison to help you choose between herringbone and chevron before you start cutting:
| Feature | Herringbone | Chevron |
| Cut angle | 90° ends | 45° angled ends |
| Look | Staggered, broken V | Continuous zigzag |
| Skill level | Beginner-friendly | Slightly more precise |
| Best for | Rustic or classic styles | Modern or geometric styles |
| Wood waste | Low | Slightly higher |
11. Chevron Wood Plank Design
Chevron is similar to herringbone but creates a continuous zigzag that feels sharper and more modern. It works beautifully with lighter wood tones and minimal room styling.
The cuts need to be precise for chevron to line up properly, so take your time measuring before you start. A miter saw makes the angled cuts much easier and cleaner than trying to do it by hand.
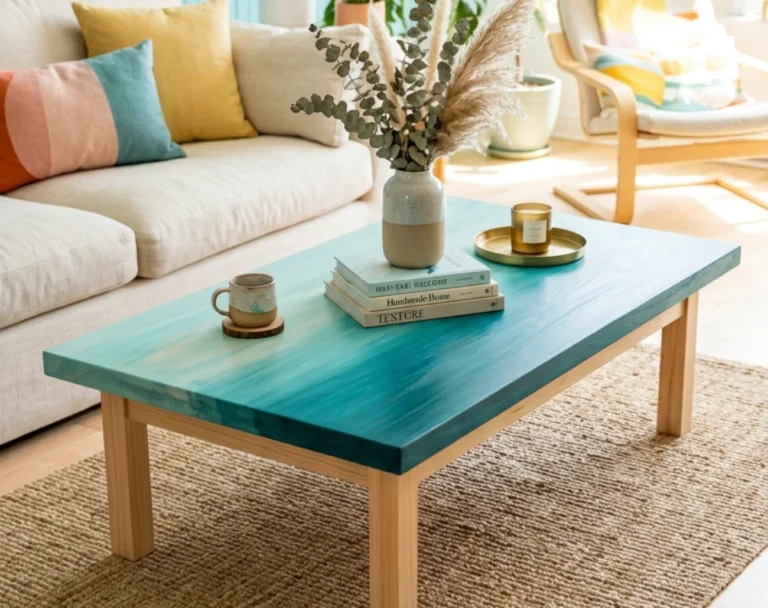
12. Epoxy Filled Wood Cracks Tabletop
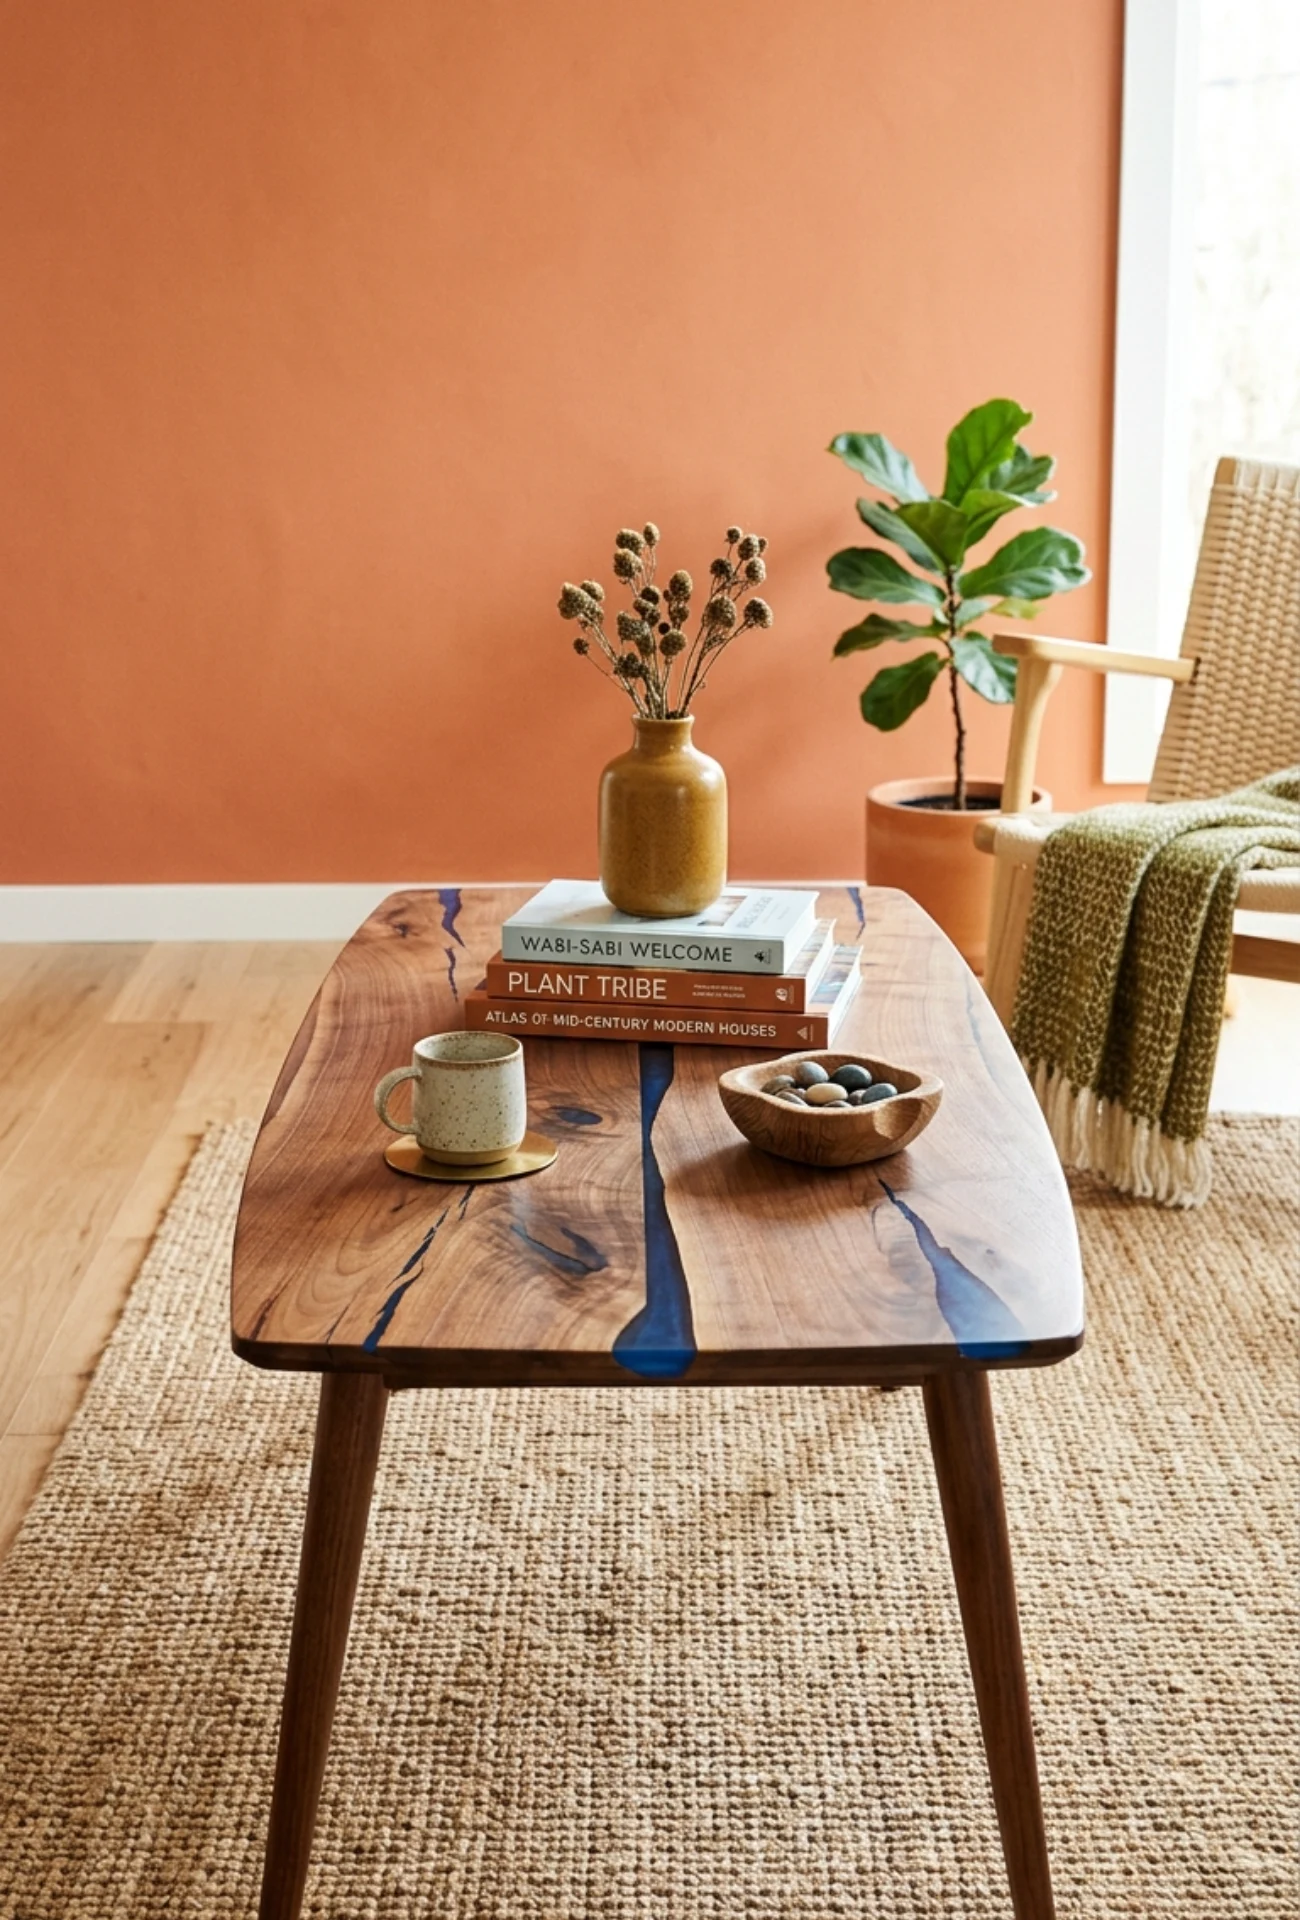
Filling natural cracks and knots in wood with colored epoxy resin is one of the most striking DIY finishes you can do right now.
The result looks artistic, modern, and honestly like something from a high-end furniture store.
Pour tinted epoxy slowly into the cracks and let it cure completely before sanding flush with the surface.
Deep blue, black, or even gold resin are popular choices that contrast beautifully against natural wood grain.
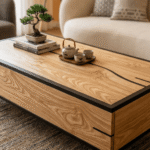
13. Live Edge Wood Coffee Table Upgrade
Live edge wood keeps the natural, uncut edge of the tree intact, and that raw organic shape is what makes it so visually interesting. No two pieces are ever the same, which is exactly the point.
You can source live edge slabs from local lumber mills or specialty wood shops, often for less than you’d expect.
Sand it smooth, apply a clear epoxy coat to protect the surface, and let the shape of the wood be the main design statement.
14. Burnt Wood (Shou Sugi Ban) Finish
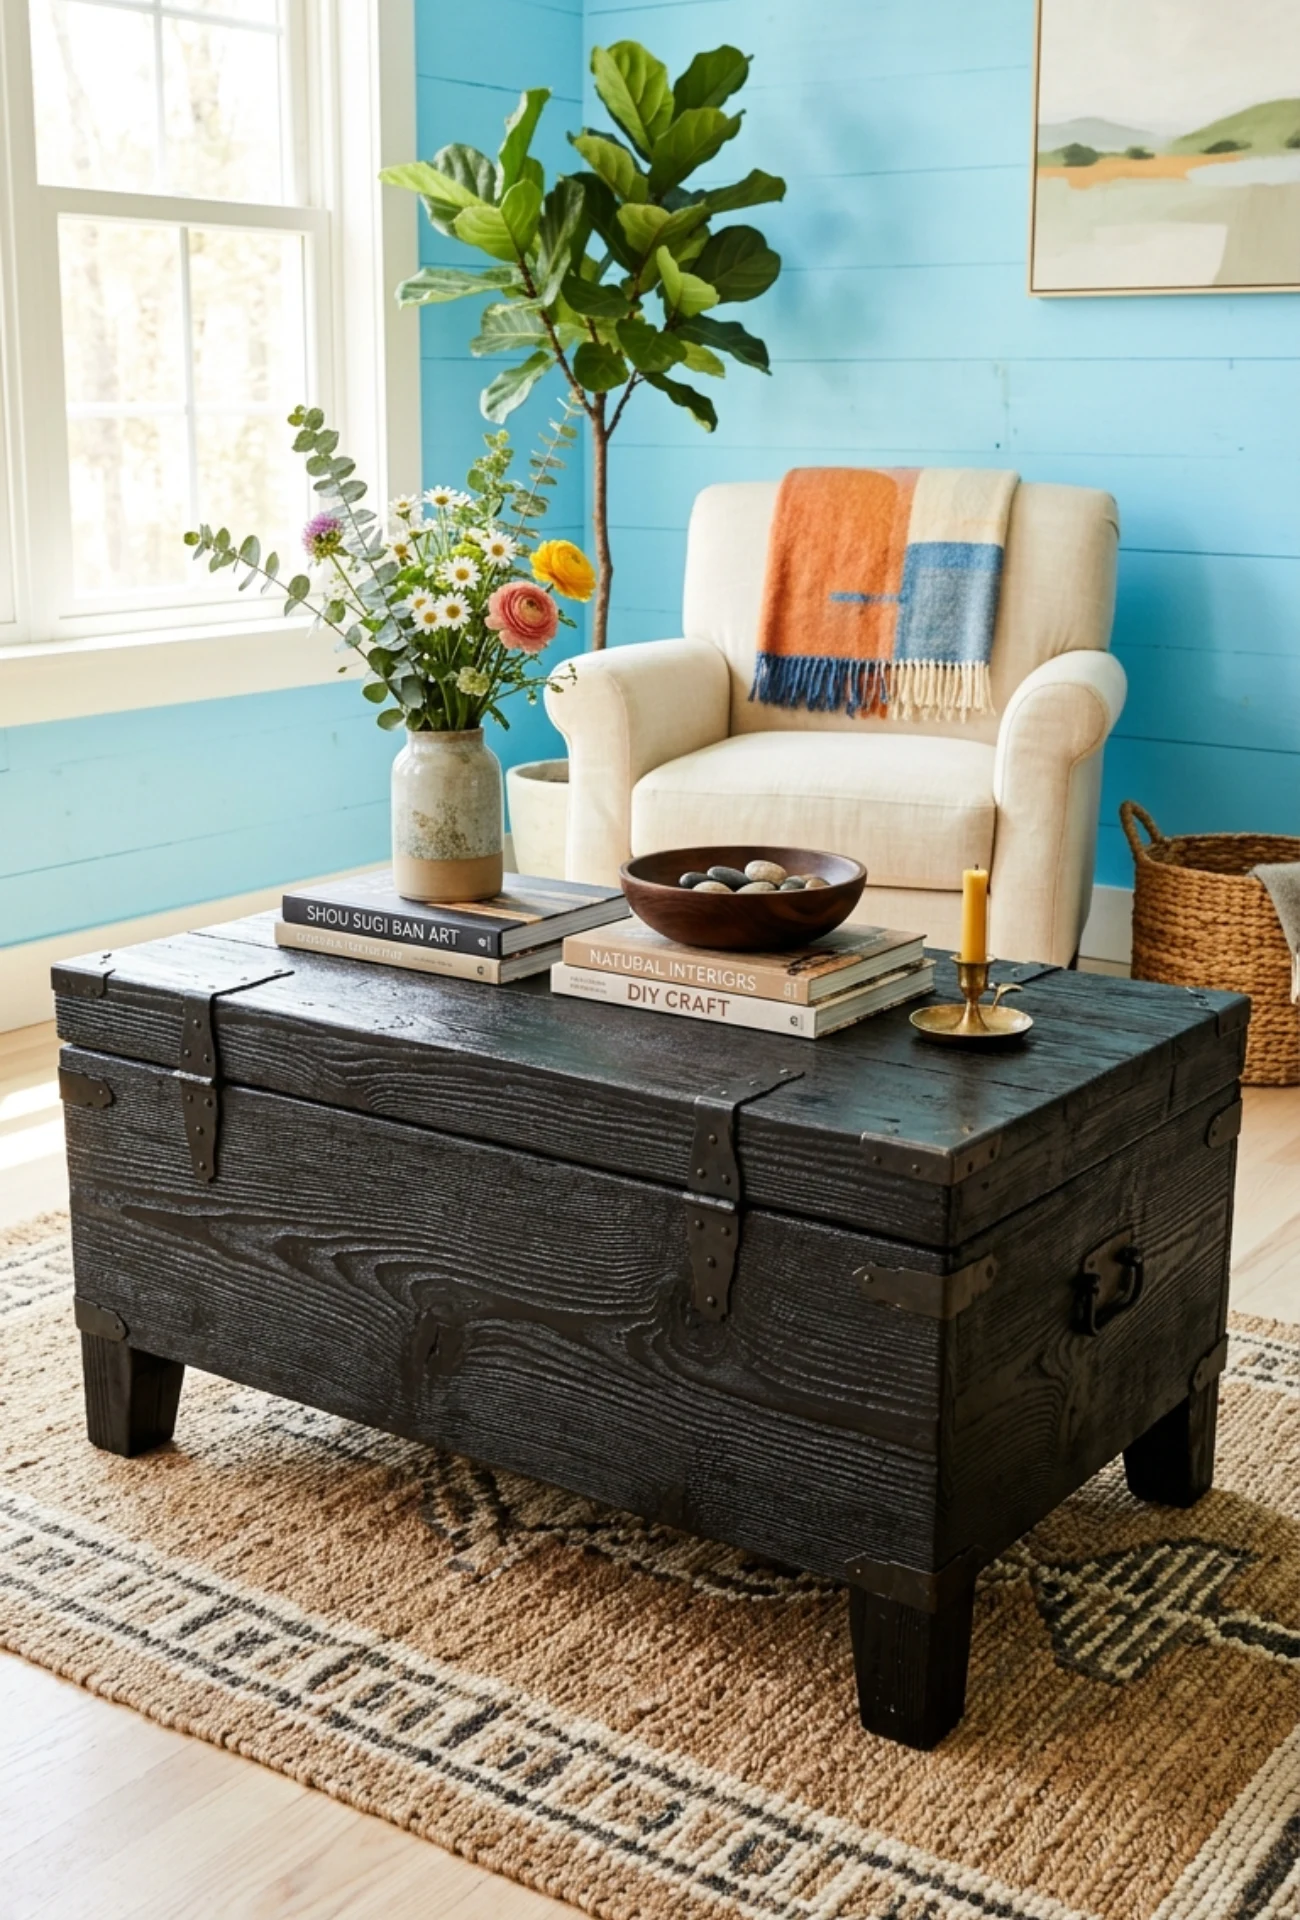
Shou Sugi Ban is a Japanese wood-burning technique that char the surface of the wood to preserve and protect it. The result is a deep, almost black finish with visible grain texture that looks incredibly striking.
Use a butane torch to char the wood surface evenly, then brush away the loose char with a stiff brush. Seal it with a clear outdoor-grade oil to lock in the finish and bring out that dramatic contrast.
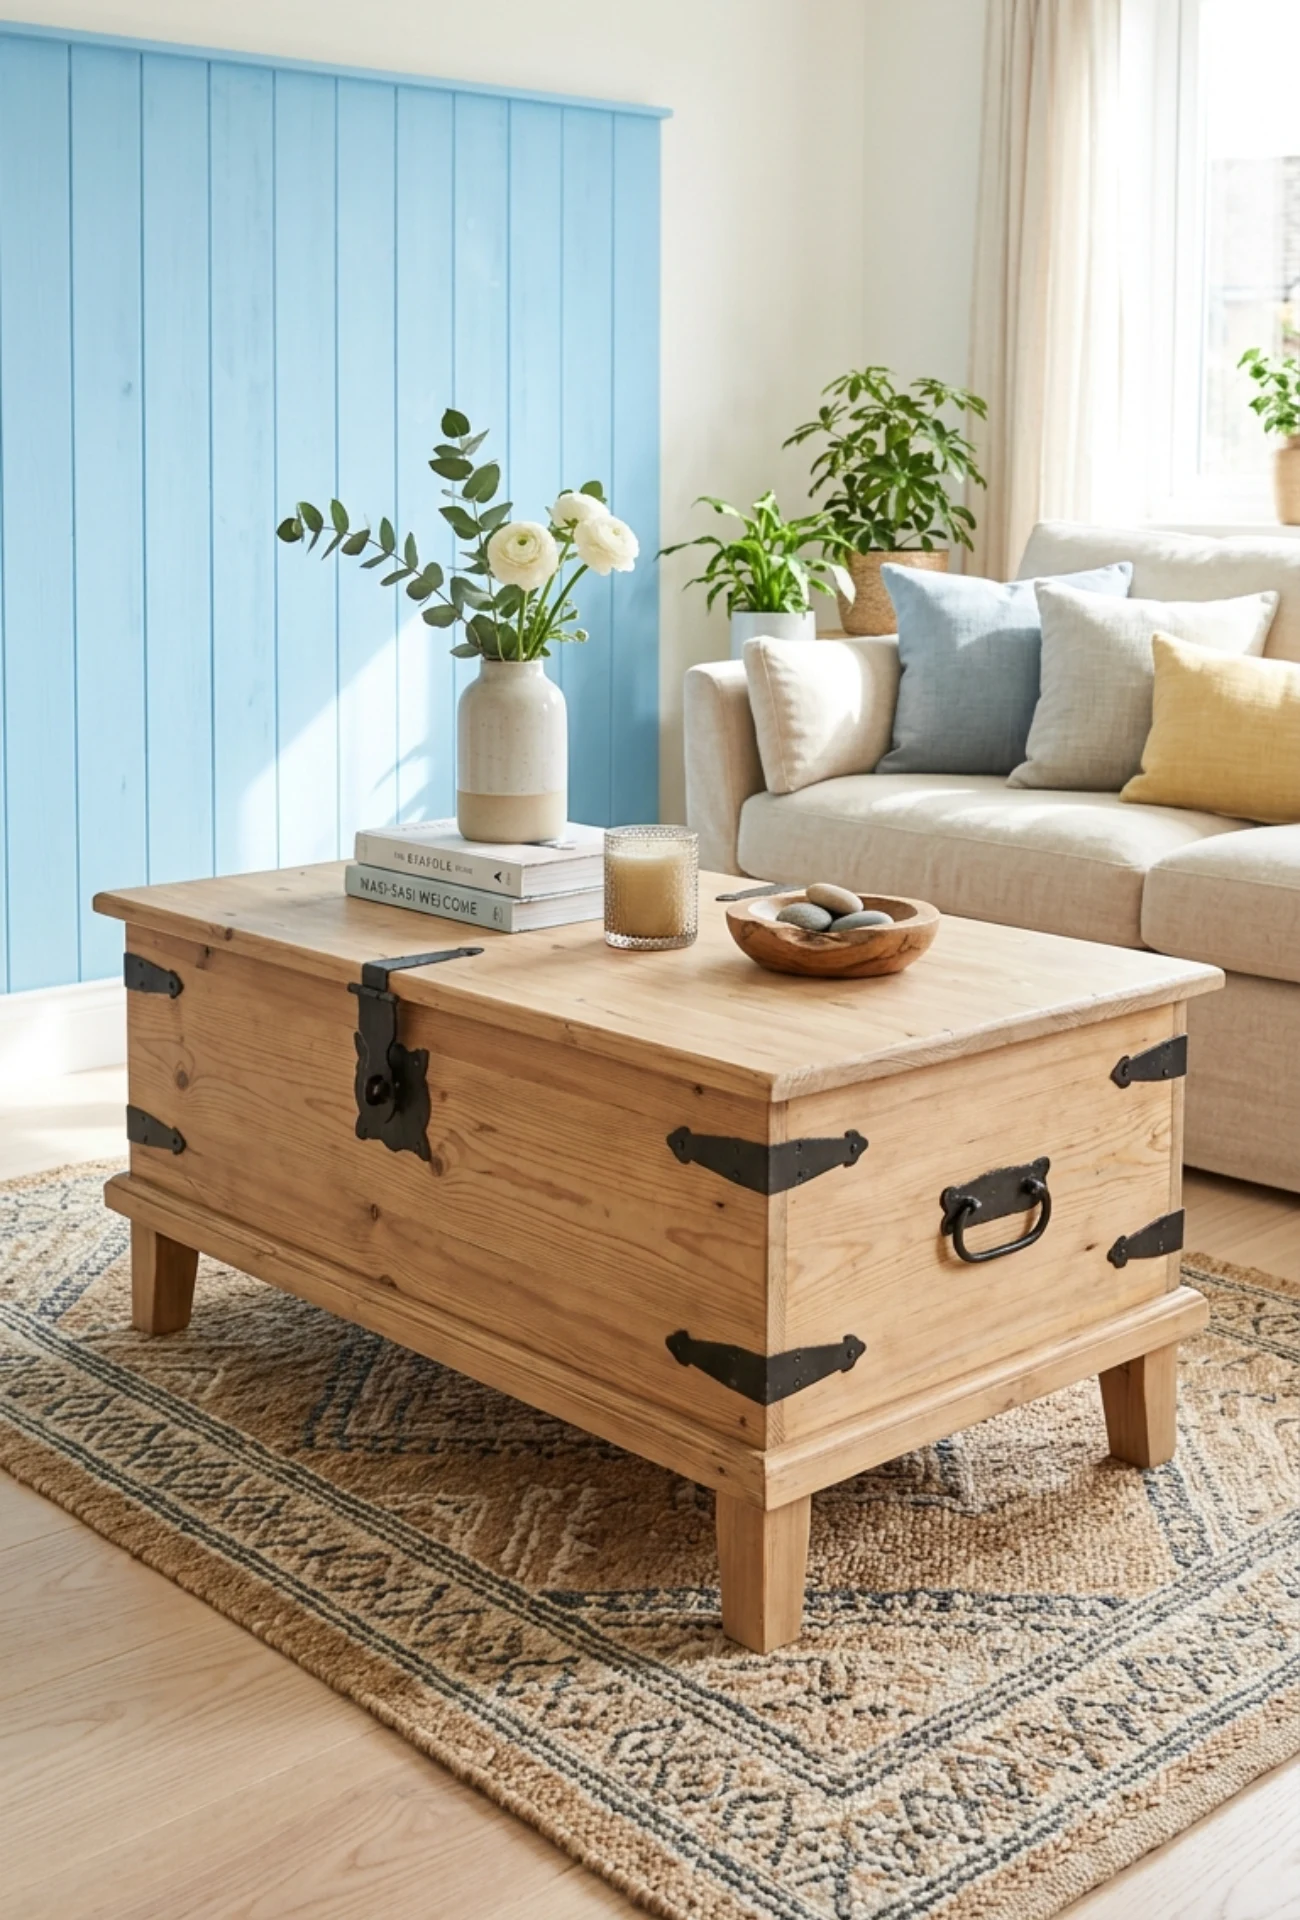
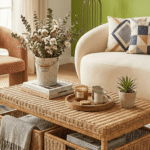
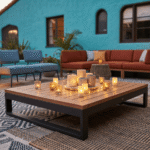
15. Crate Wood Coffee Table Hack

Wooden crates are cheap, stackable, and surprisingly sturdy, making them one of the easiest coffee table hacks out there.
Arrange them in different configurations to get the shape and storage setup that works for your space.
Sand and stain them in a matching tone so everything looks cohesive rather than thrown together. Add felt pads on the bottom so they don’t slide around, and you’ve got a table that also doubles as hidden storage.
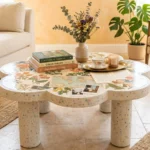
16. Scrap Wood Mosaic Top Design

Using leftover scrap pieces in different shapes, tones, and sizes to create a mosaic tabletop is a genuinely creative way to use up materials you already have. The mixed wood look is warm, eclectic, and full of character.
Arrange the pieces in a pattern you like before gluing anything down, then use wood filler to close any gaps between them.
Sand everything flat and finish with a strong polyurethane coat to protect the surface and tie all the tones together.
17. Stained + Polyurethane Shine Finish
Staining your wood and finishing it with polyurethane is one of the most classic and reliable DIY combinations out there.
The stain adds color and depth while the polyurethane creates a hard, durable surface that holds up to daily use.
Apply at least two coats of polyurethane, lightly sanding between each one with fine-grit sandpaper for the smoothest possible finish. You can choose between matte, satin, or gloss depending on how much shine you want.
Here is a quick guide to help you pick the right polyurethane sheen for your table:
| Sheen Level | Look | Best For |
| Matte | Flat, no shine | Rustic, farmhouse, distressed styles |
| Satin | Soft, subtle glow | Everyday tables, most wood tones |
| Semi-gloss | Noticeable shine | Modern or mid-century styles |
| Gloss | High shine, lacquer feel | Statement pieces, darker stains |
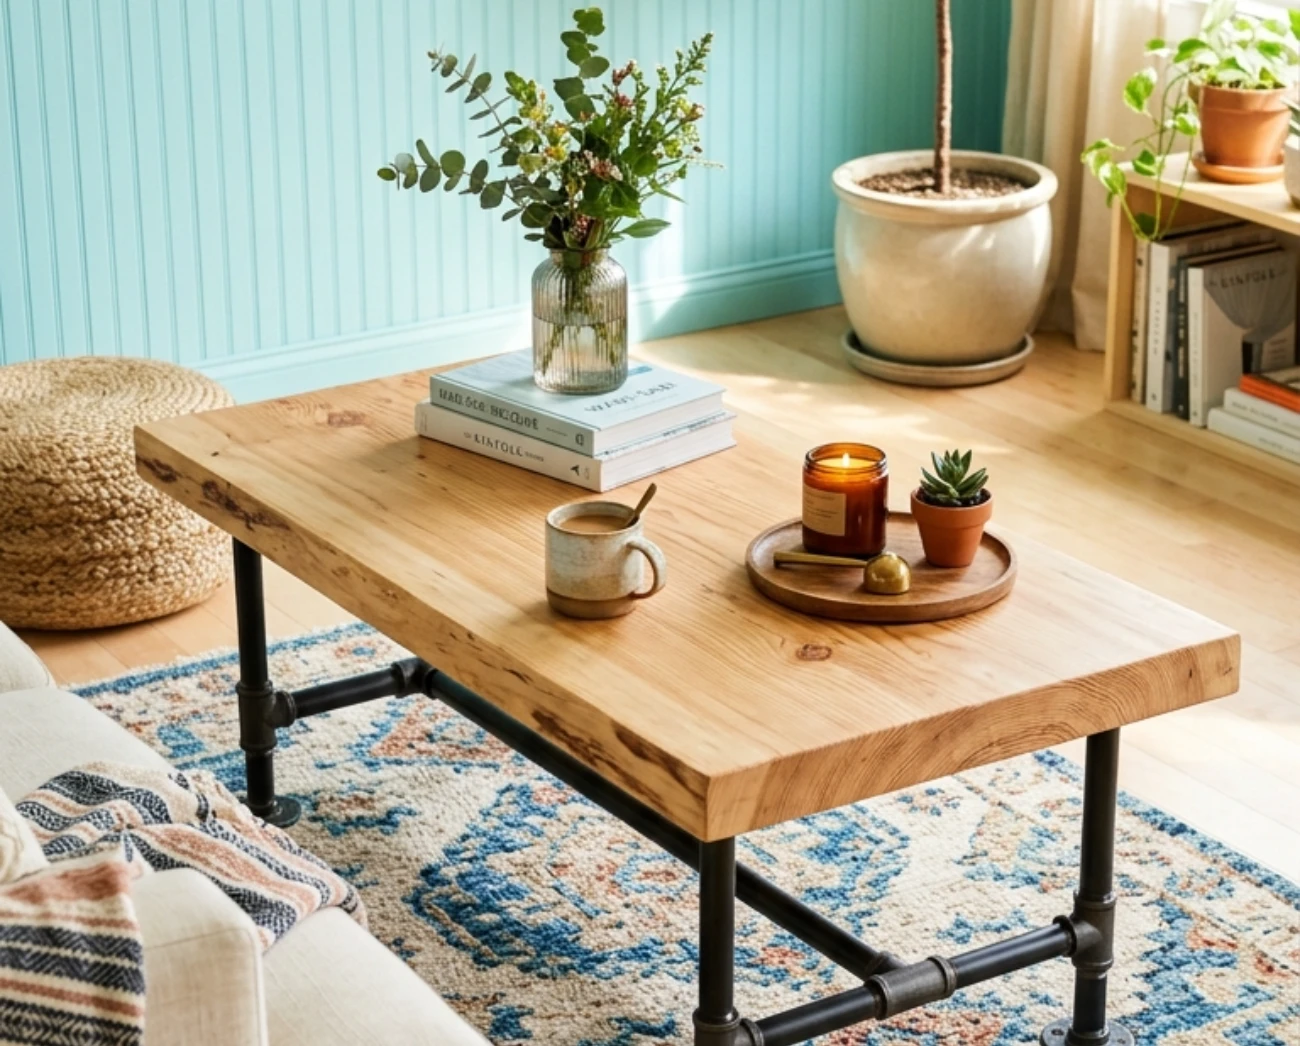
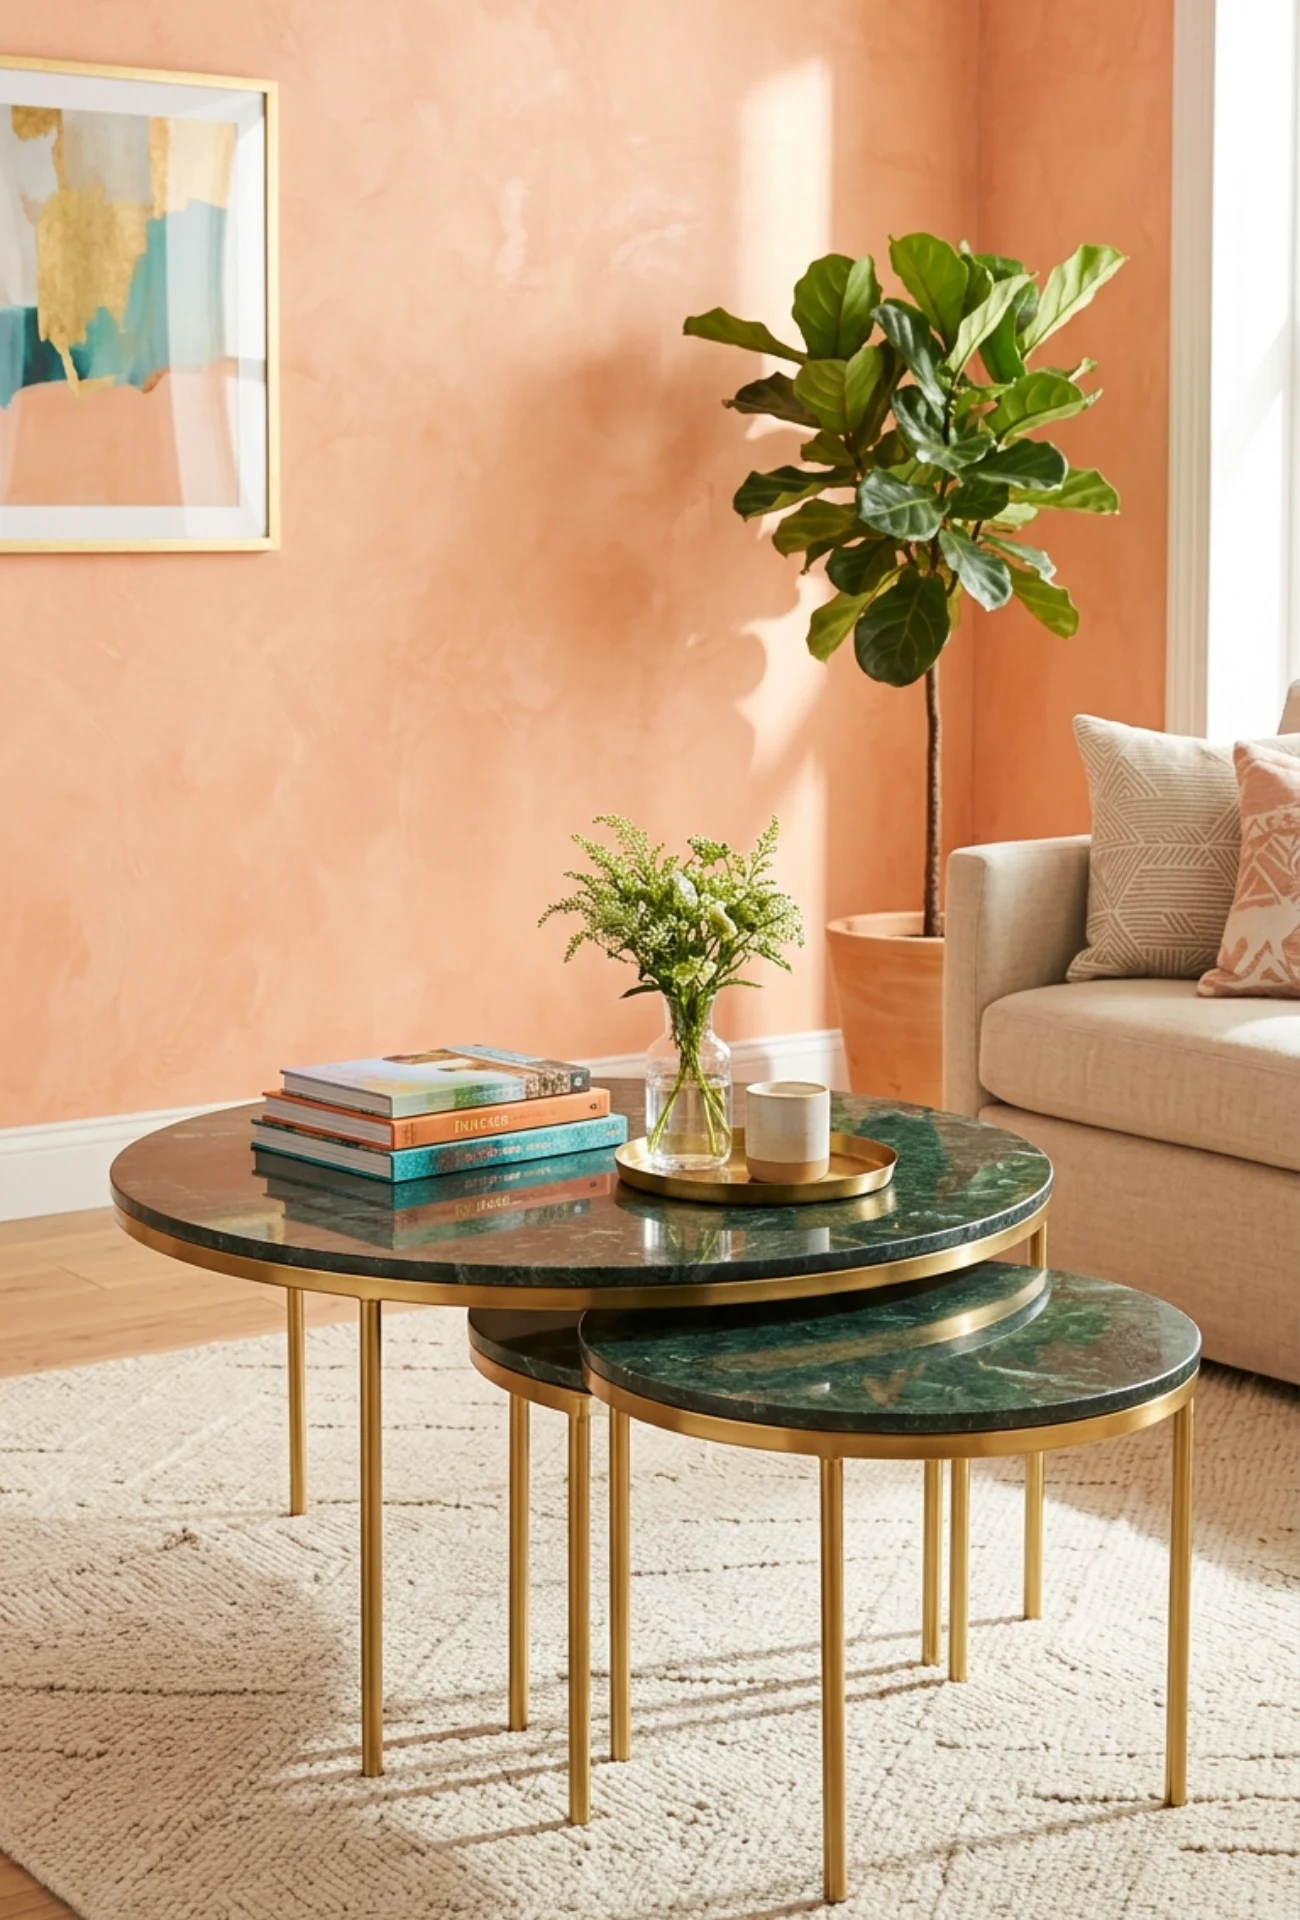
18. Industrial Wood + Metal Base Mix
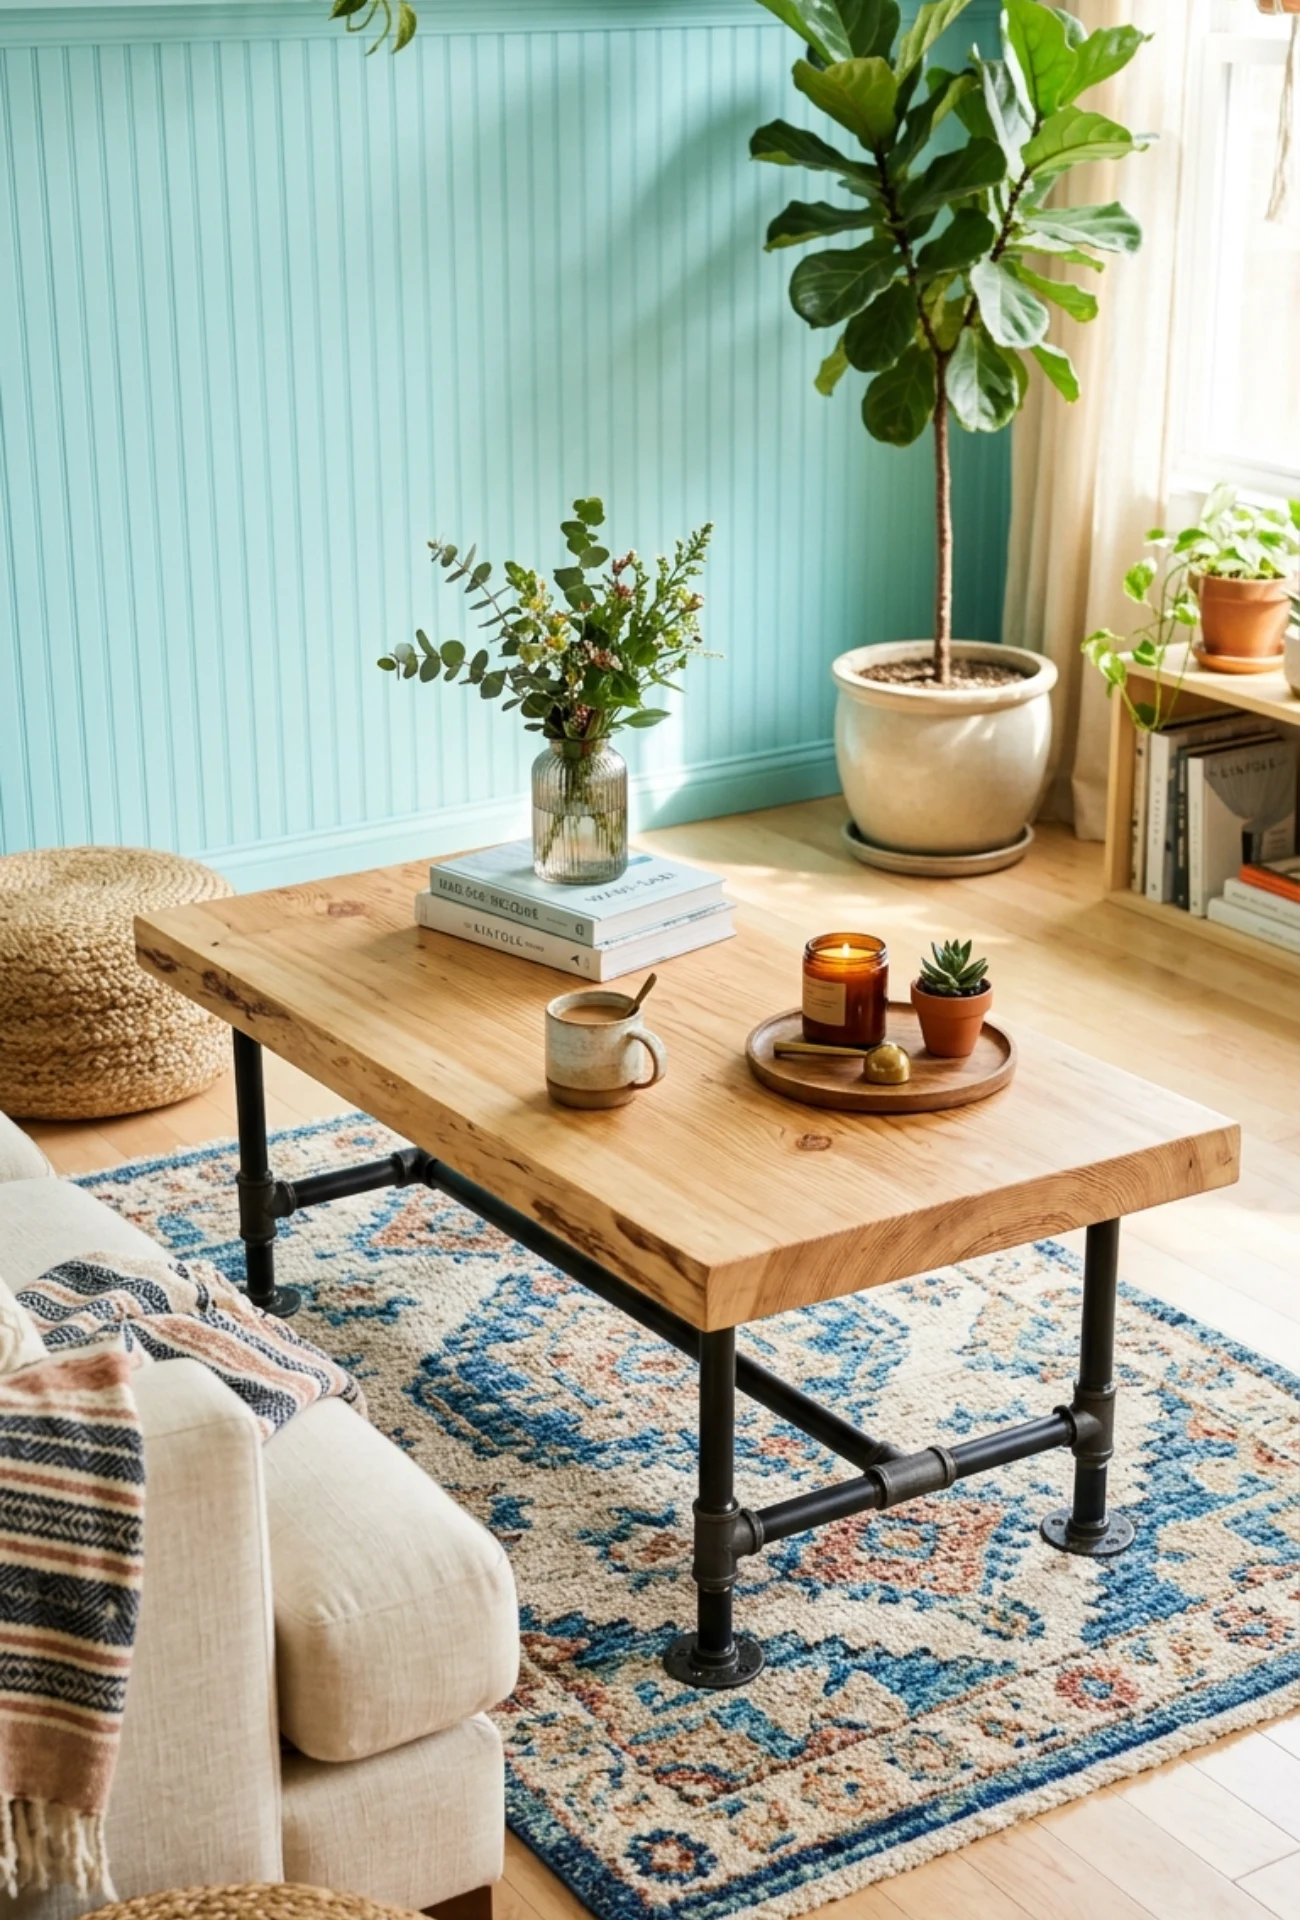
Pairing a natural wood top with a metal pipe or iron base is one of the most popular DIY looks for good reason.
It brings together two completely different materials in a way that feels balanced, strong, and very intentional.
You can buy pre-made metal hairpin legs or pipe fittings from most hardware stores and attach them directly to a sanded and stained wood top.
The contrast between warm wood grain and cool metal is what makes this style so timeless and easy to love in almost any room.
Which one of these ideas is already on your mind, and do you think a bold finish like epoxy or burnt wood could actually work in your living room?